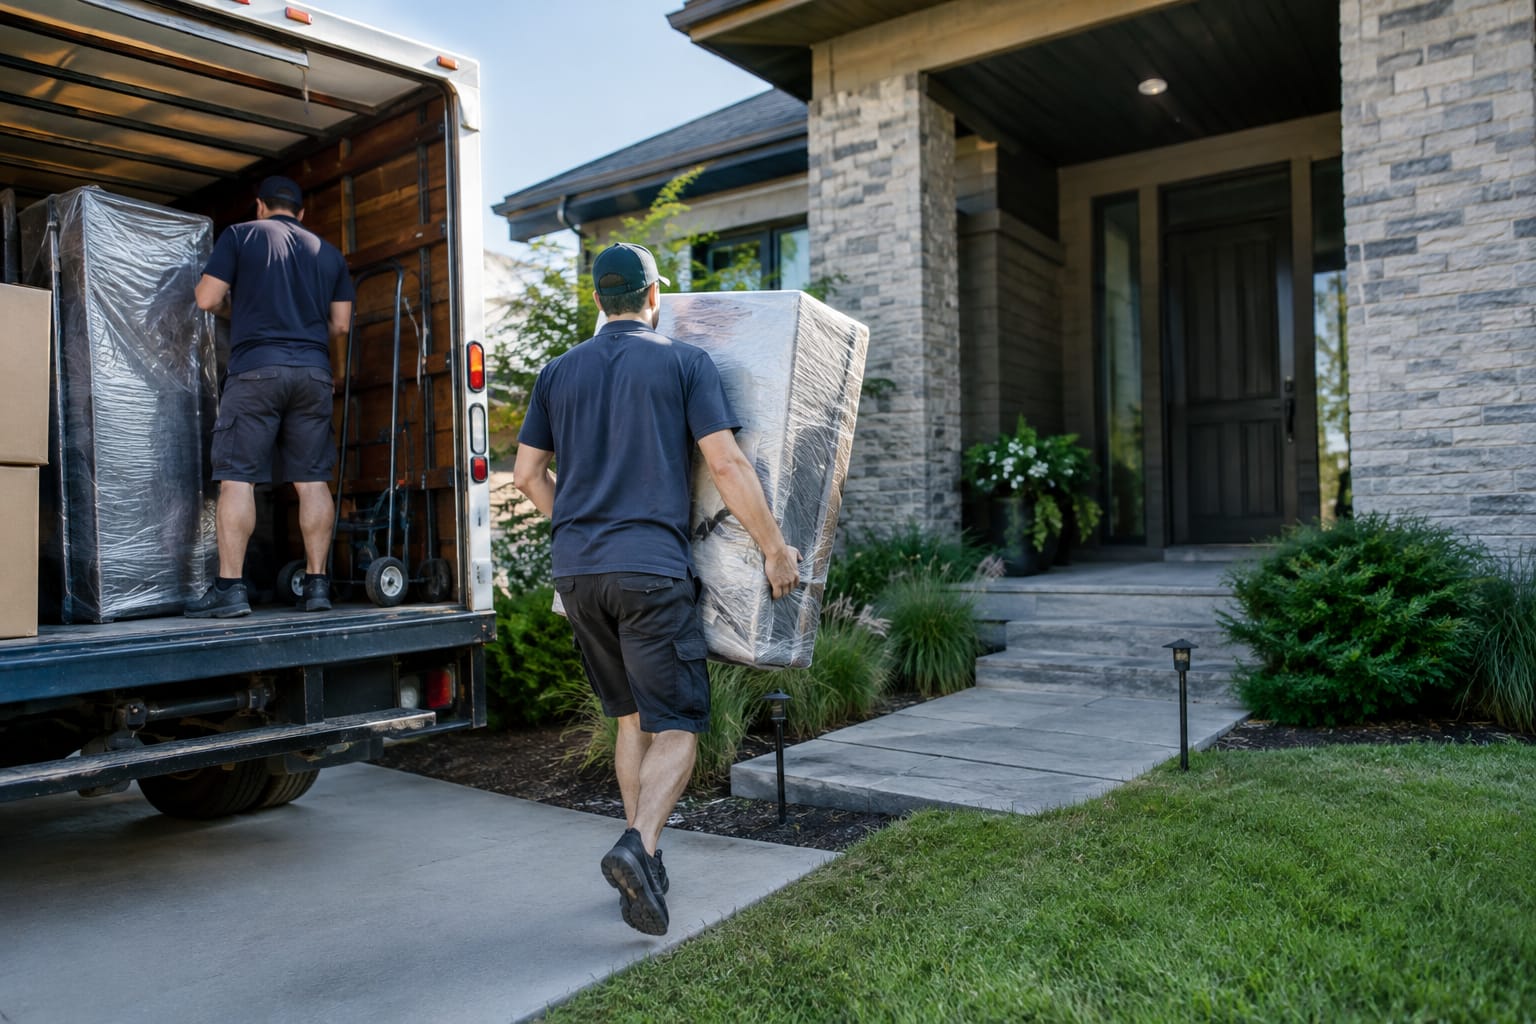
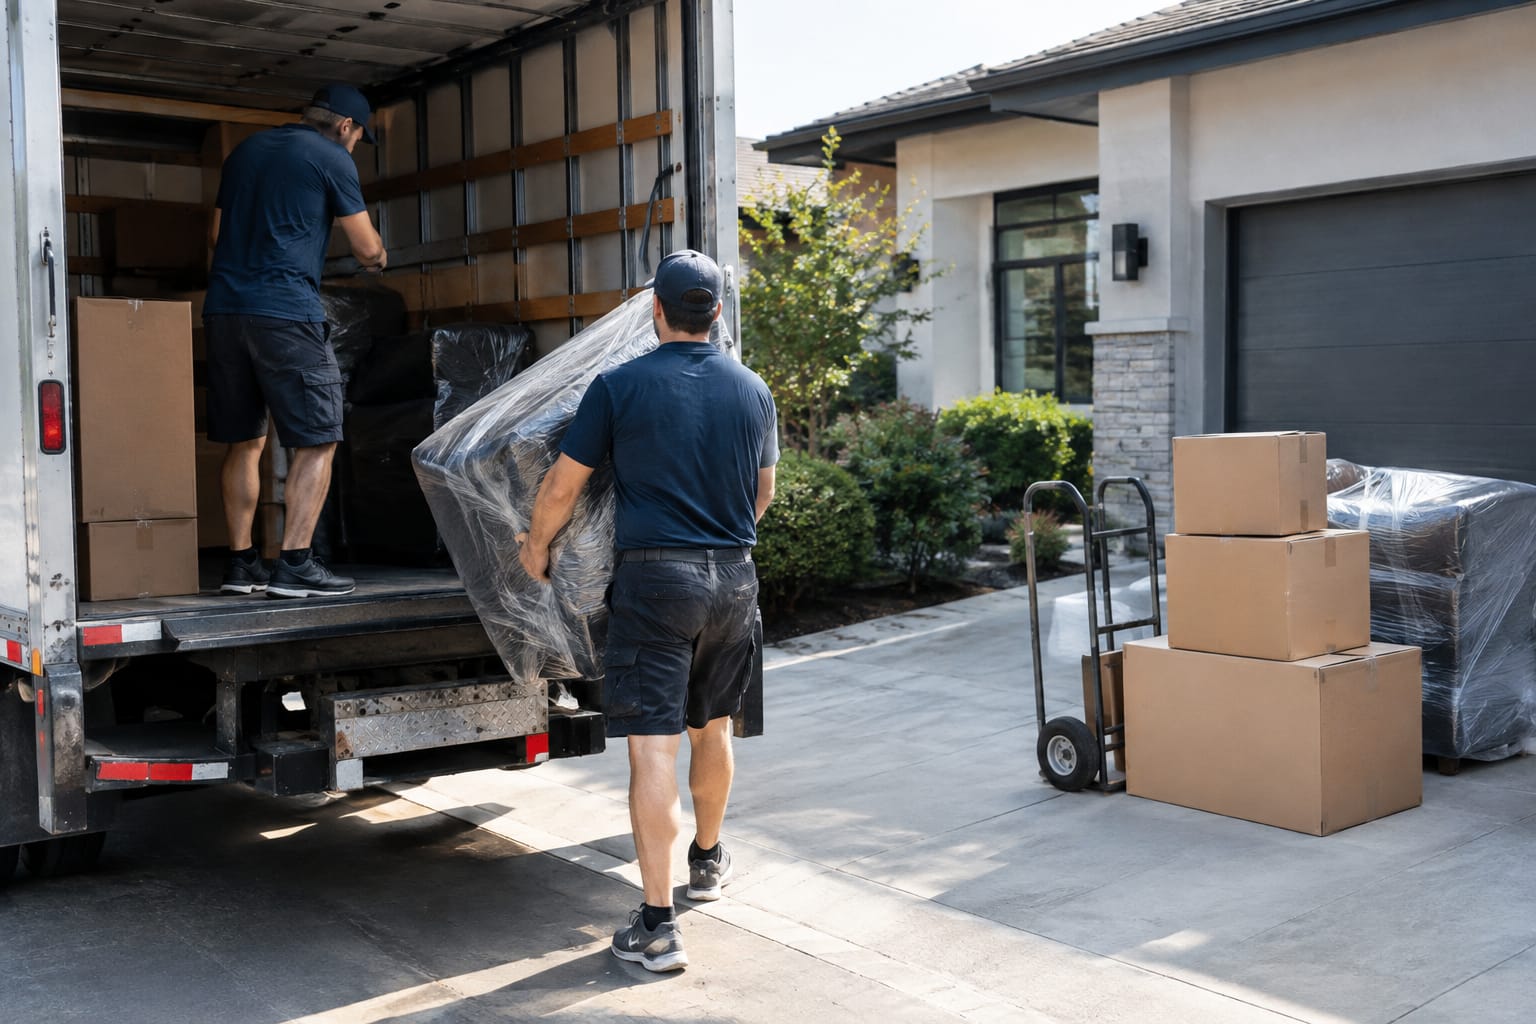
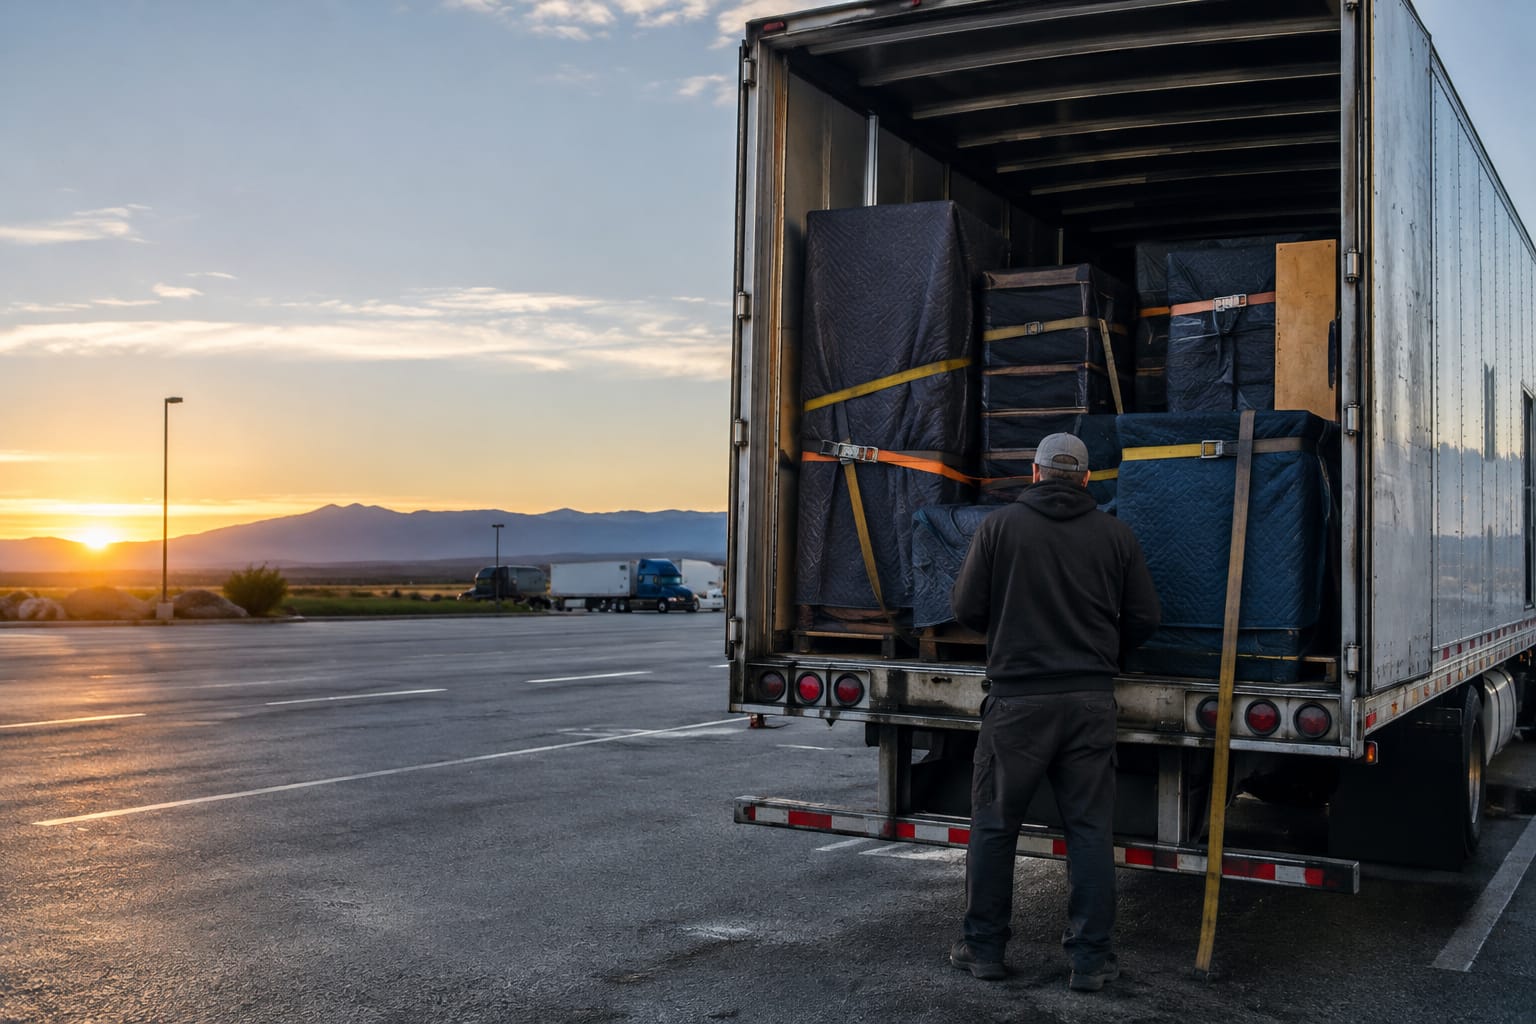
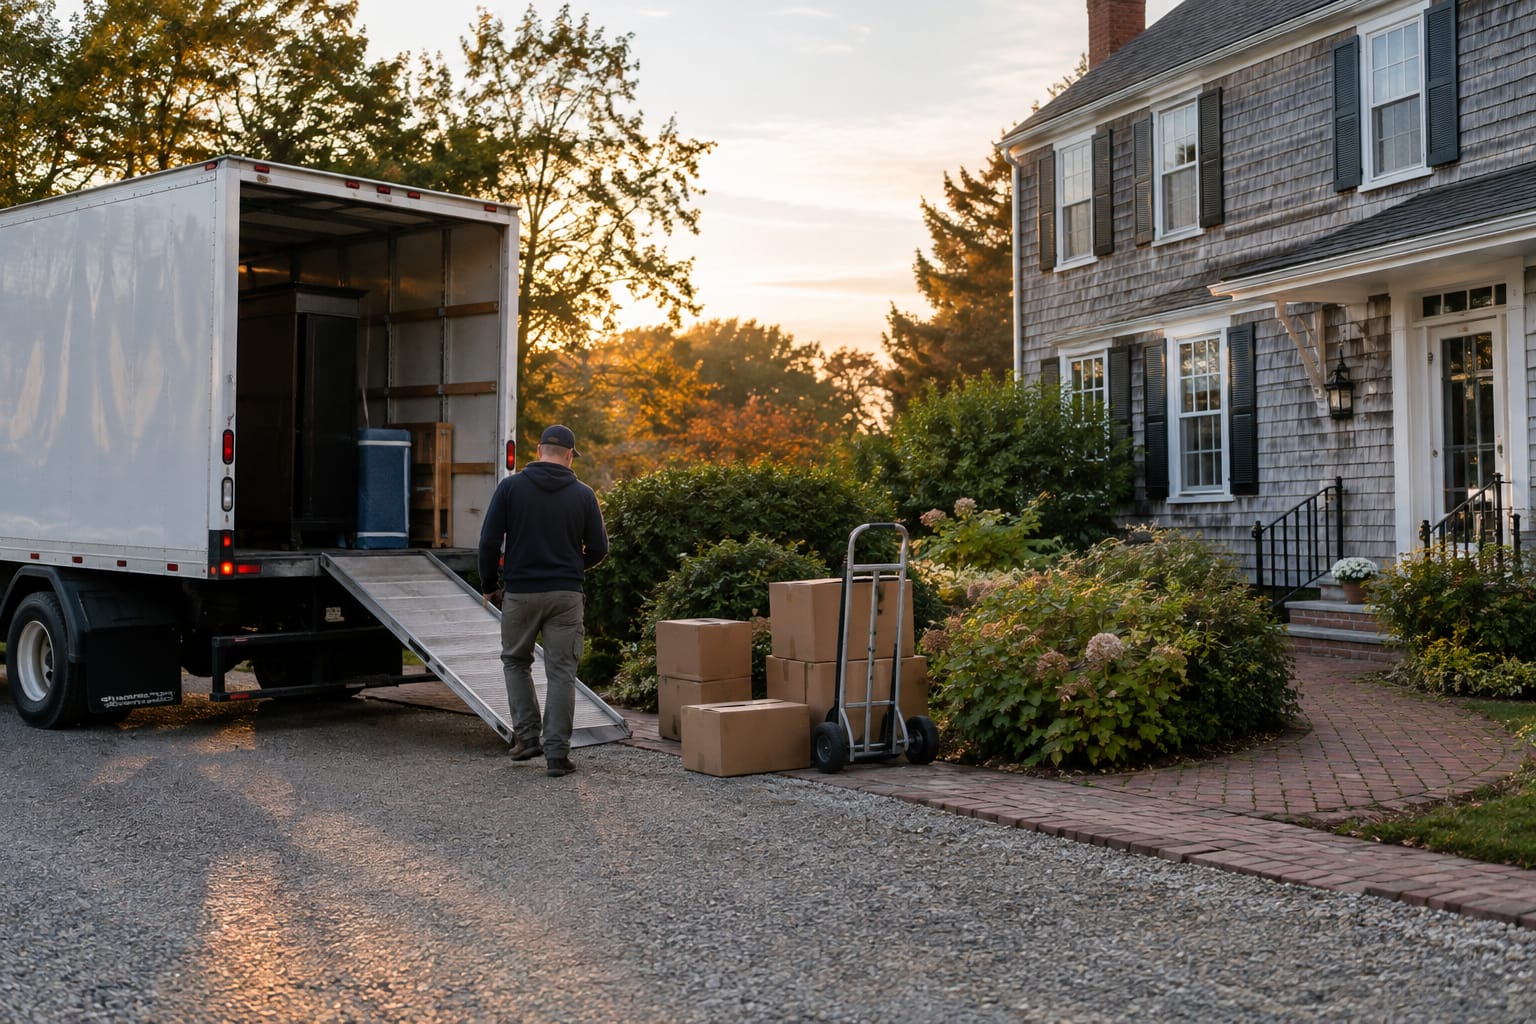
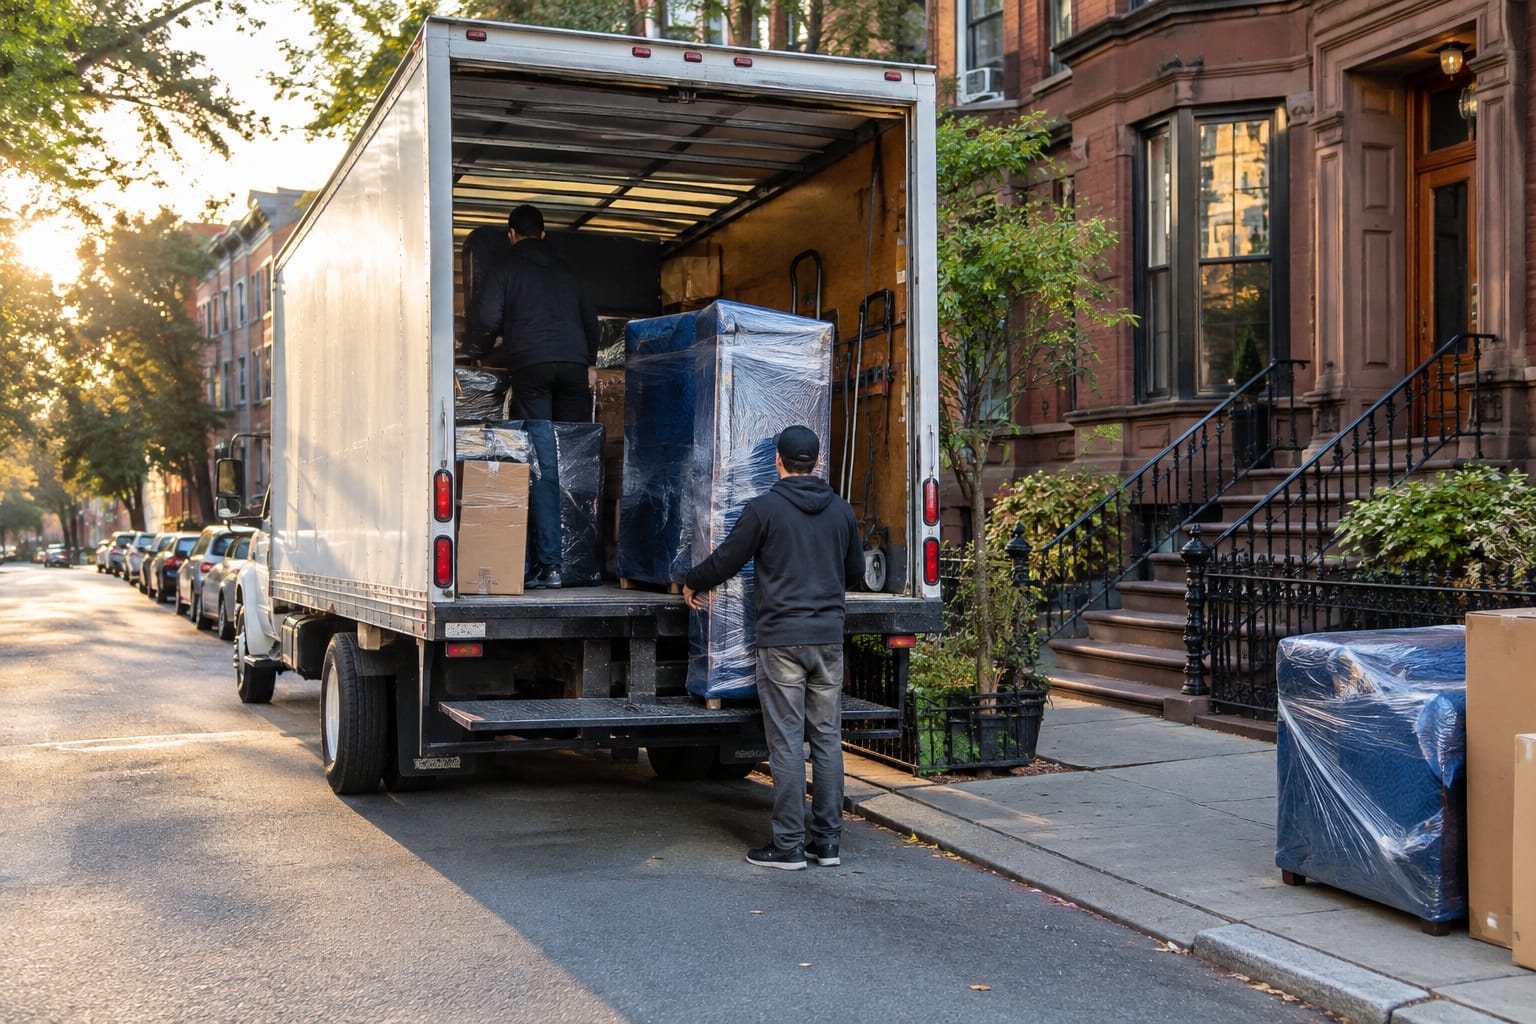
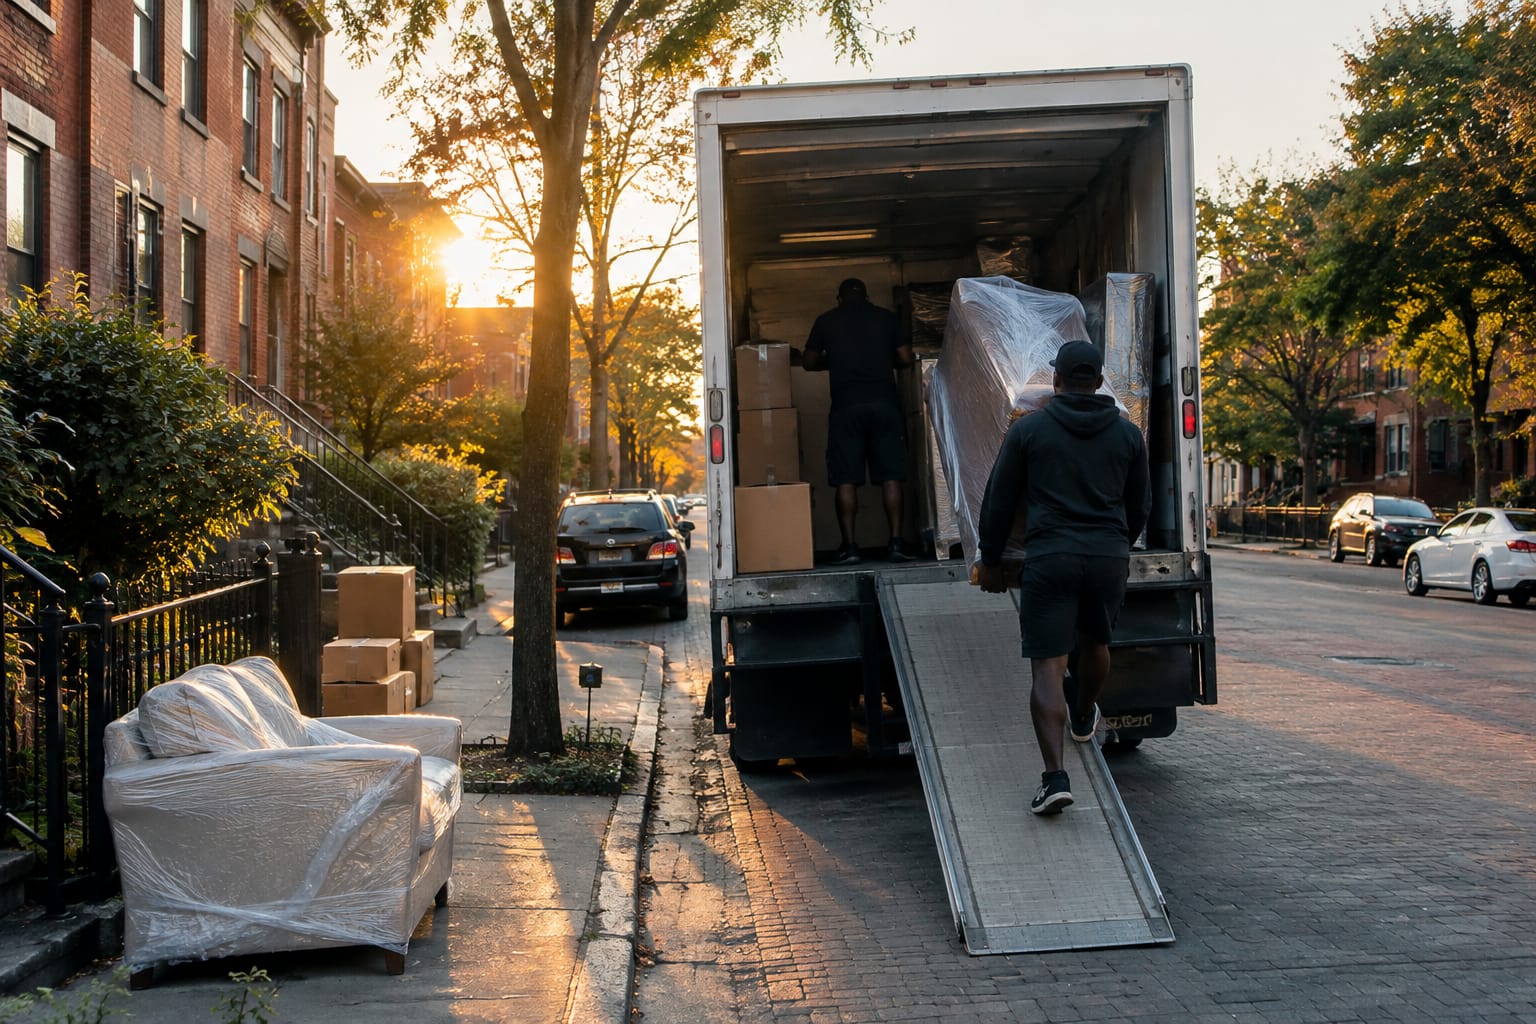
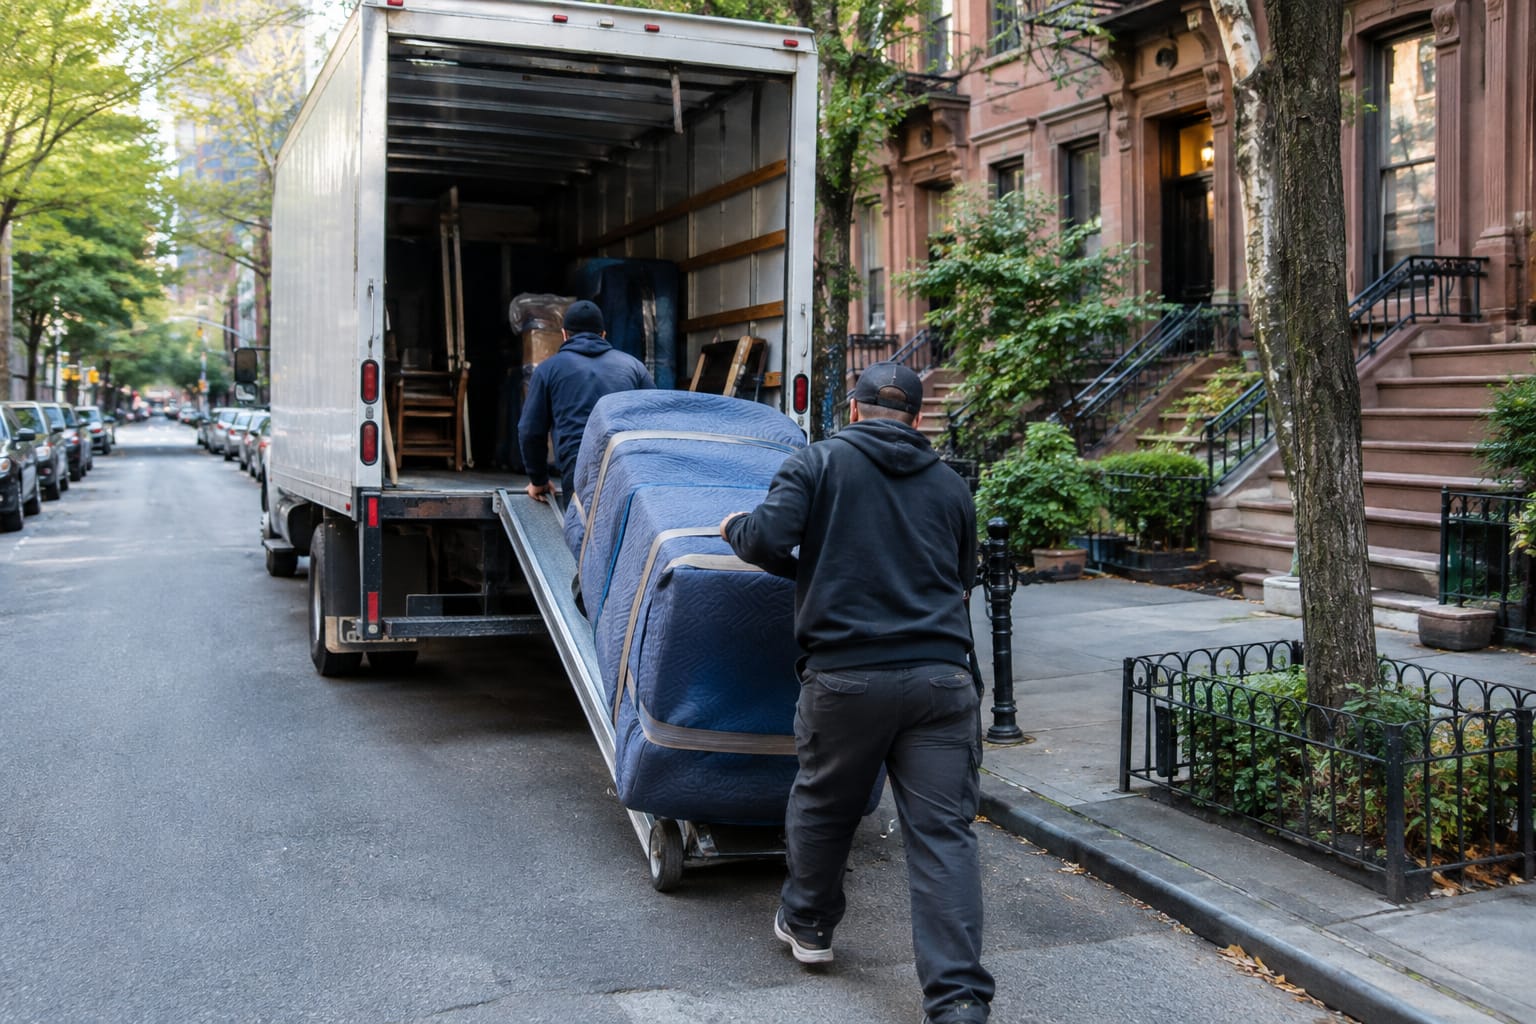
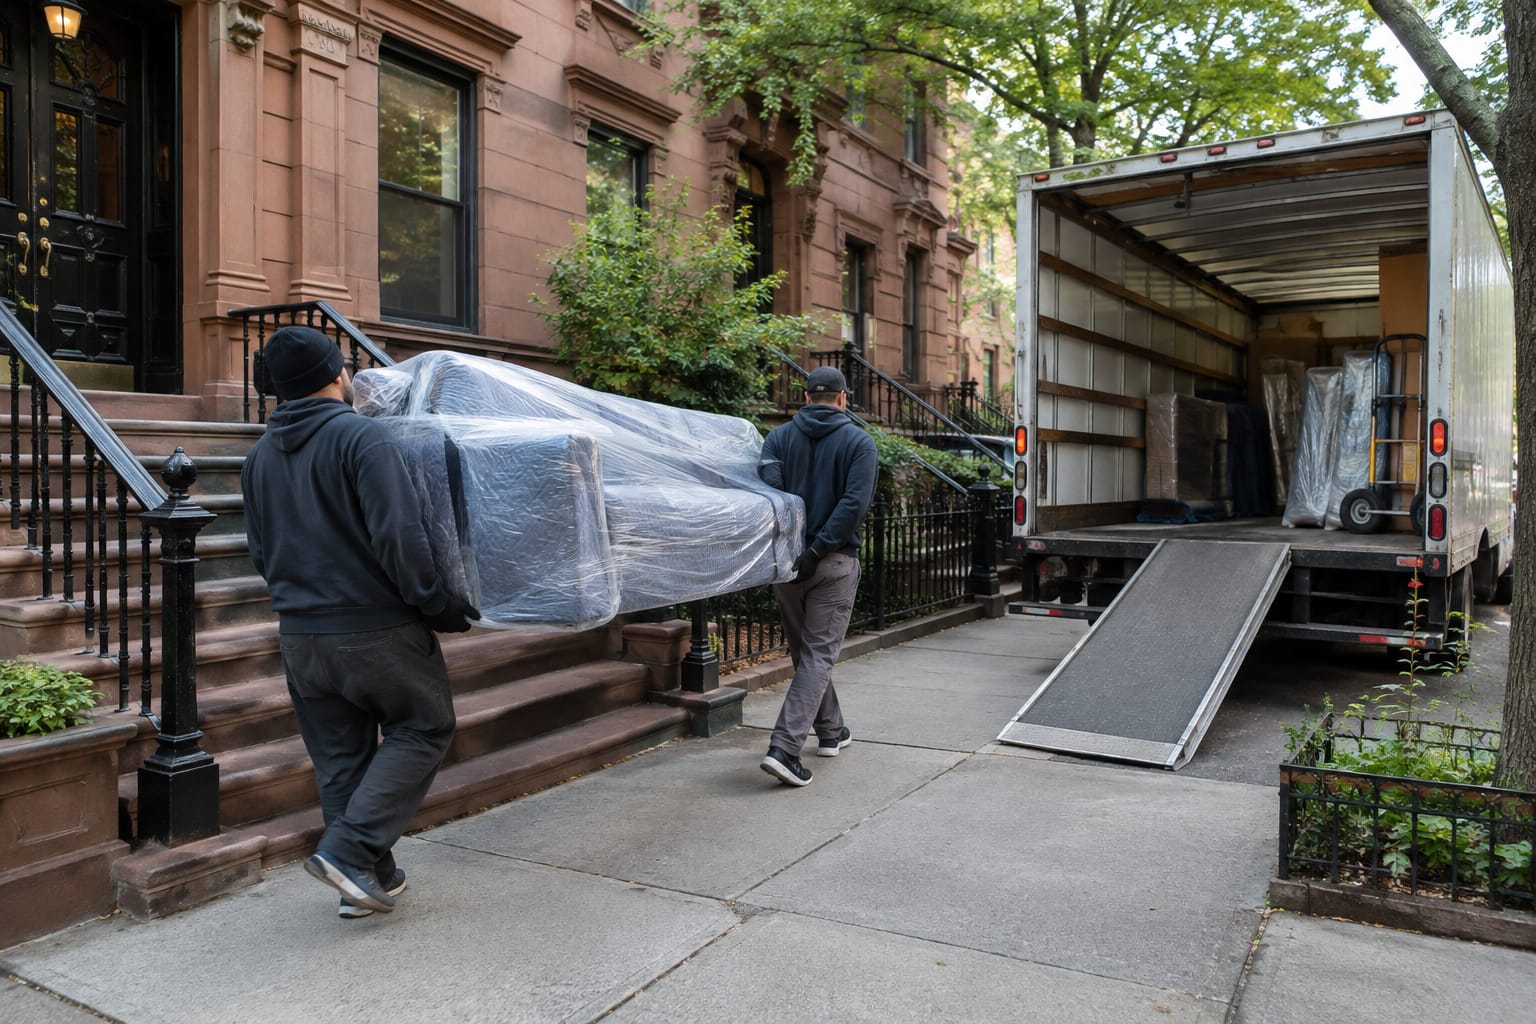
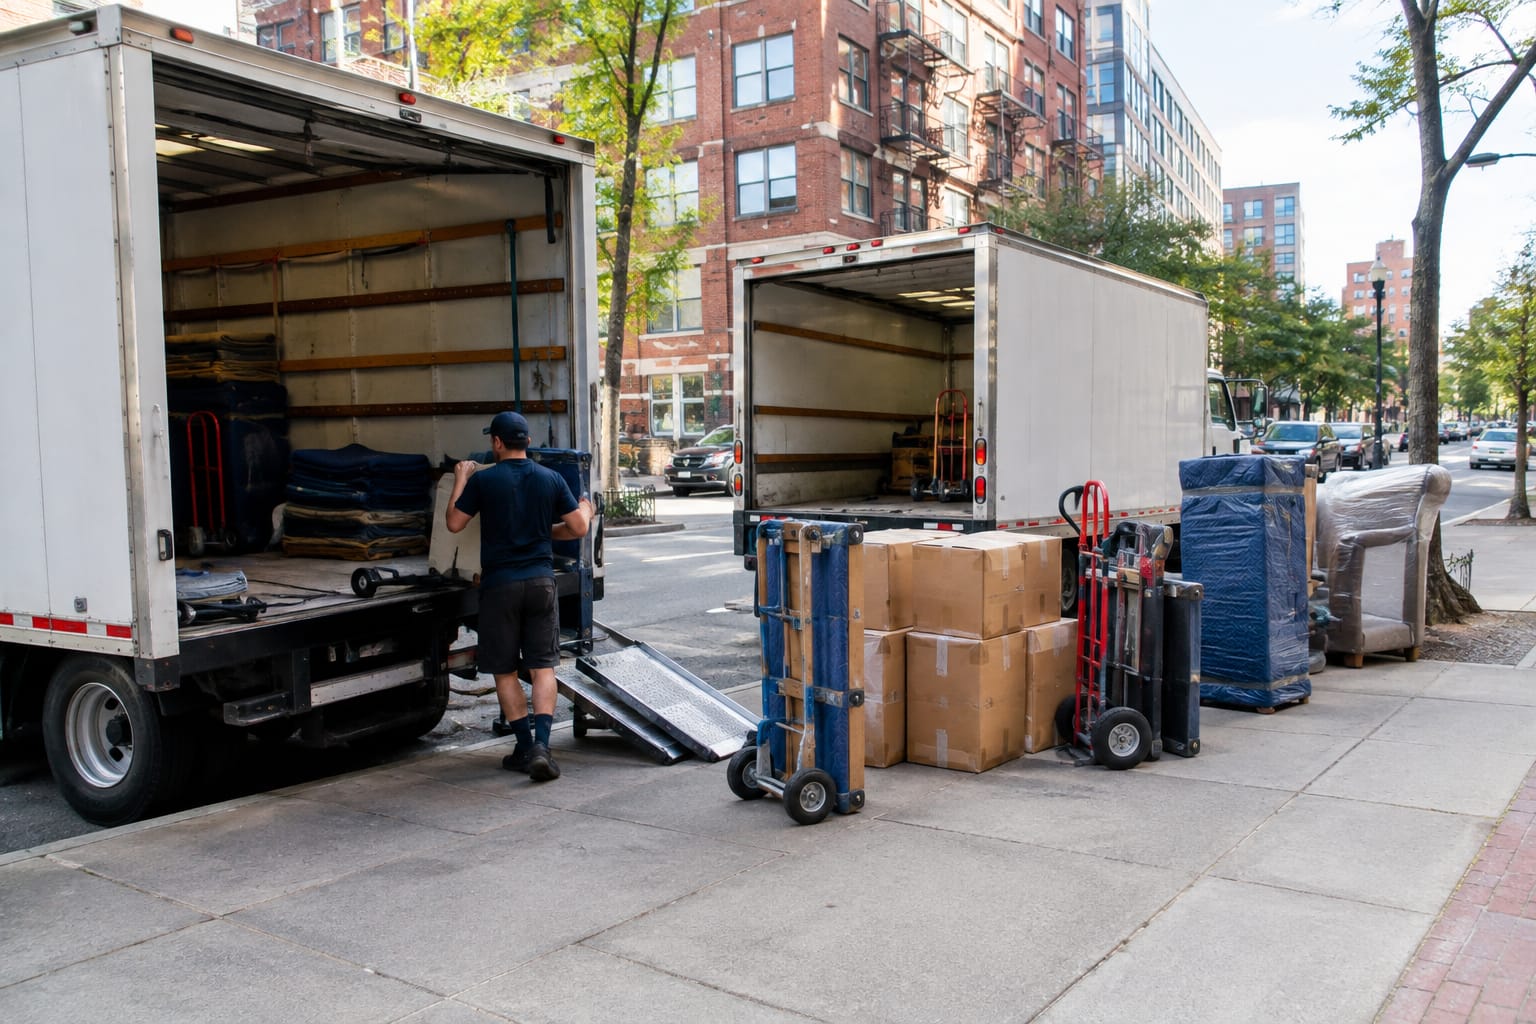
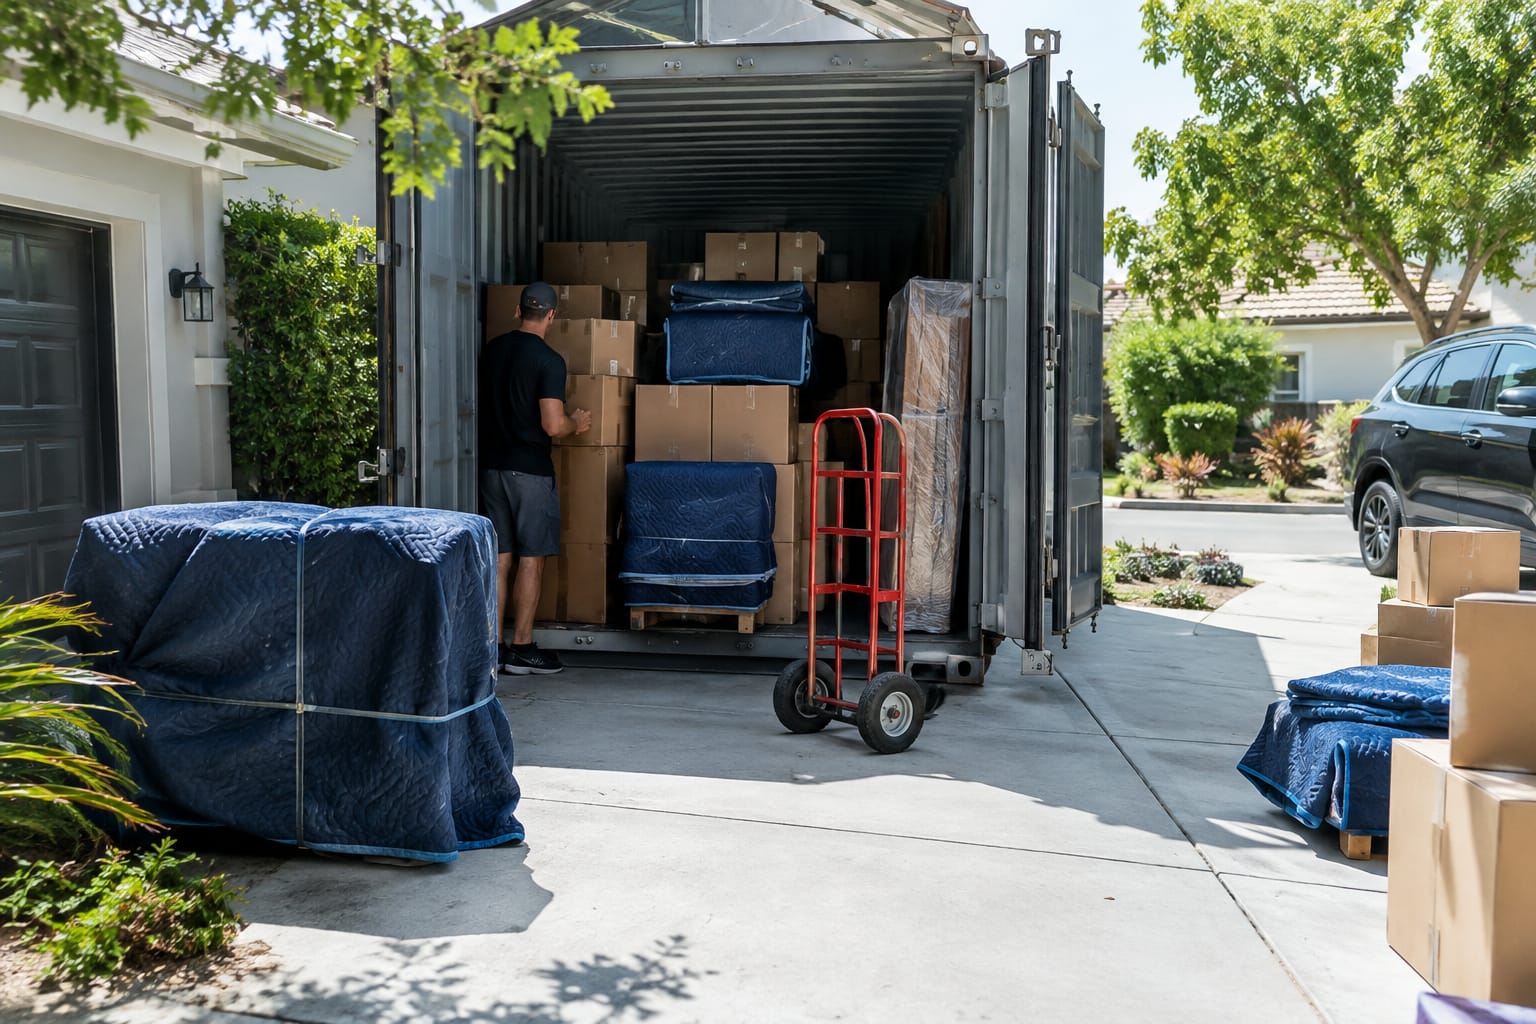
To pack a moving container like PODS step by step, start with the heaviest furniture and appliances against the back wall. Then build tight floor-to-ceiling tiers of boxes, fill every gap with soft items or blankets, and strap each section to the container's tie-down points before starting the next. Finish with a braced final section at the door.
That sequence matters because a portable container moves more than a rental truck. A lift tilts it onto a trailer, it rides on the highway, and then it is set down again. A loose load shifts at each of those moments. This guide covers prep before delivery, the loading order, how to strap it, and when hiring loading help is the smarter call.
Key Takeaways
- Heavy first, at the back. Appliances and solid furniture go against the wall farthest from the door, kept low and centered.
- Build tiers, not piles. Load full-width, floor-to-ceiling sections one at a time, with heavy items at the bottom and light items on top.
- Balance side to side. Split weight evenly between left and right so the container stays level when it is lifted.
- Fill gaps, strap every tier. Pack soft items into gaps and strap each section to the tie-down points before starting the next one.
- Check provider specs. Interior size, weight limits and prohibited items vary by provider, so use your rental agreement as the source.
Step 1: Confirm Container Size, Delivery Spot and Your Timeline
Check your provider's current specs before you buy a single box. Interior dimensions, weight limits and tie-down locations differ by provider and container size. They also change over time, so use the numbers in your rental agreement, not a figure from an old forum post.
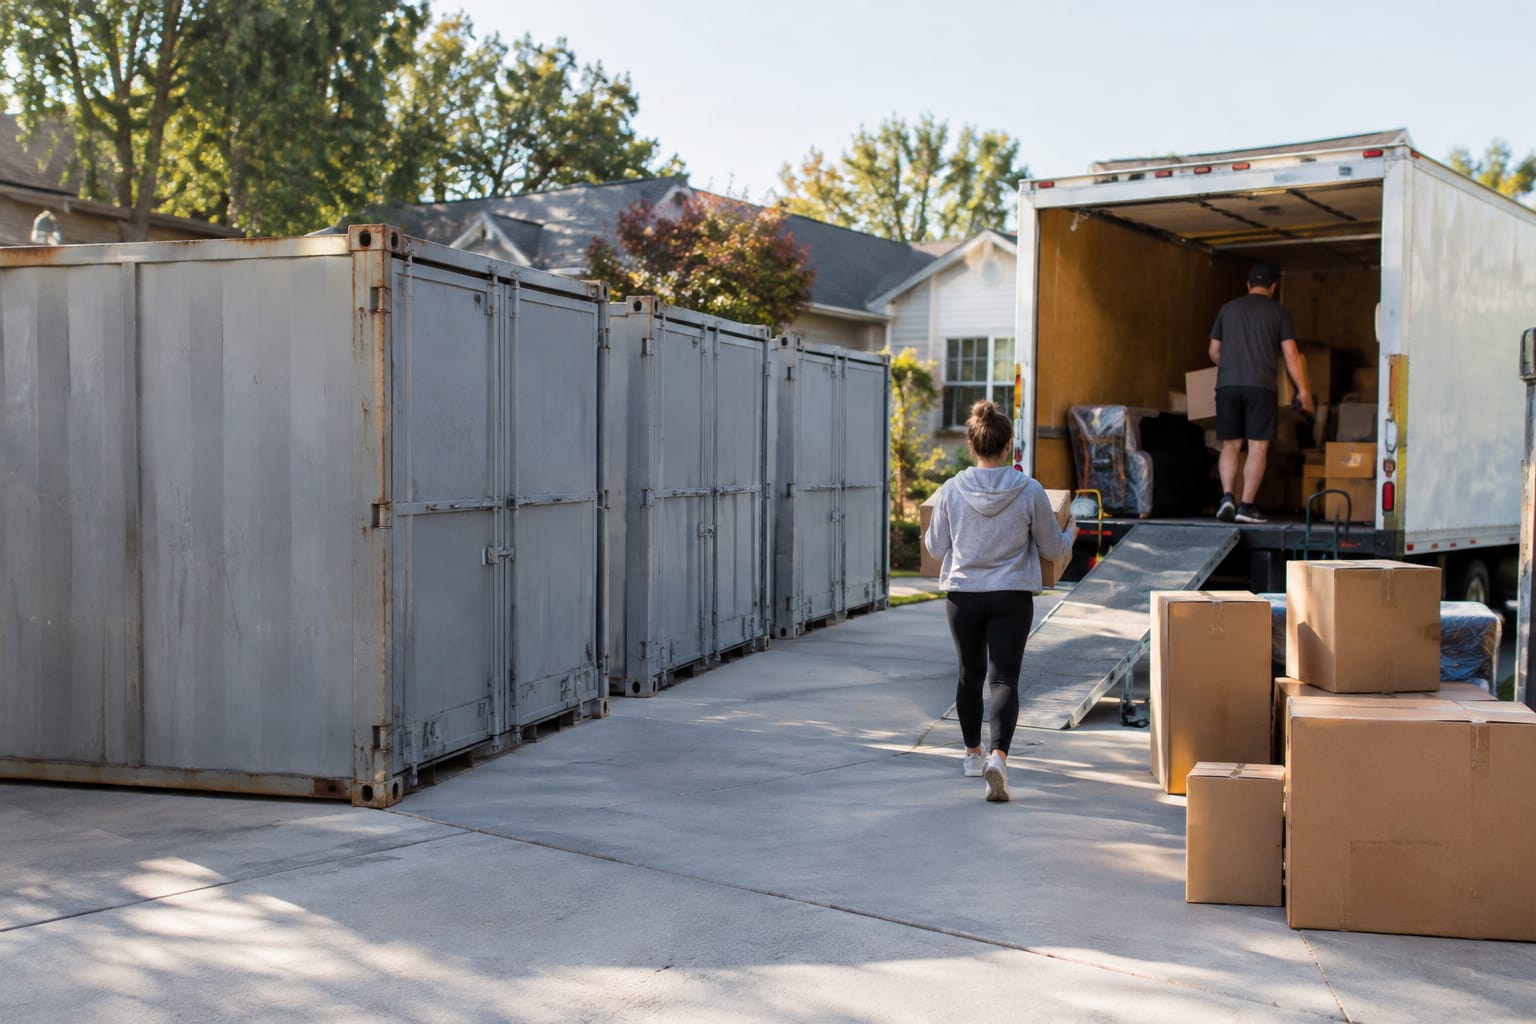
Next, pick the delivery spot. Most providers need a level, hard surface with enough clearance for their lift equipment and nothing overhead. A driveway usually works. A public street often does not without approval.
Q: Do I need a permit to put a moving container on a street in Boston?
A: Confirm the current requirements with the local public works or transportation office before delivery.
If you live in a dense neighborhood, the same headaches apply as with trucks. The guide to Boston street parking rules for moving vehicles explains how parking restrictions affect moving day.
Finally, set your timeline. Know how many days the container stays before pickup and work backward. Packing boxes always takes longer than people expect. Book any loading help at the same time you book the container, not the night before.
Step 2: Pack Boxes and Prep Furniture Before Delivery Day
Finish packing before the container arrives. Loading goes fast and clean when every box is sealed, labeled and staged near the door. Loading goes slowly when you are wrapping lamps on the driveway.
A few rules make boxes stack well:
- Use a small number of box sizes. Uniform boxes build flat, stable tiers. Odd sizes create gaps and wobble.
- Put heavy items in small boxes. Books, tools and dishes belong in small cartons so the bottom of a stack never collapses.
- Fill every box to the top. Half-empty boxes crush under weight. Use packing paper to fill the empty space.
- Label two sides and the top. Write the room and contents so you can see labels inside a stacked tier.
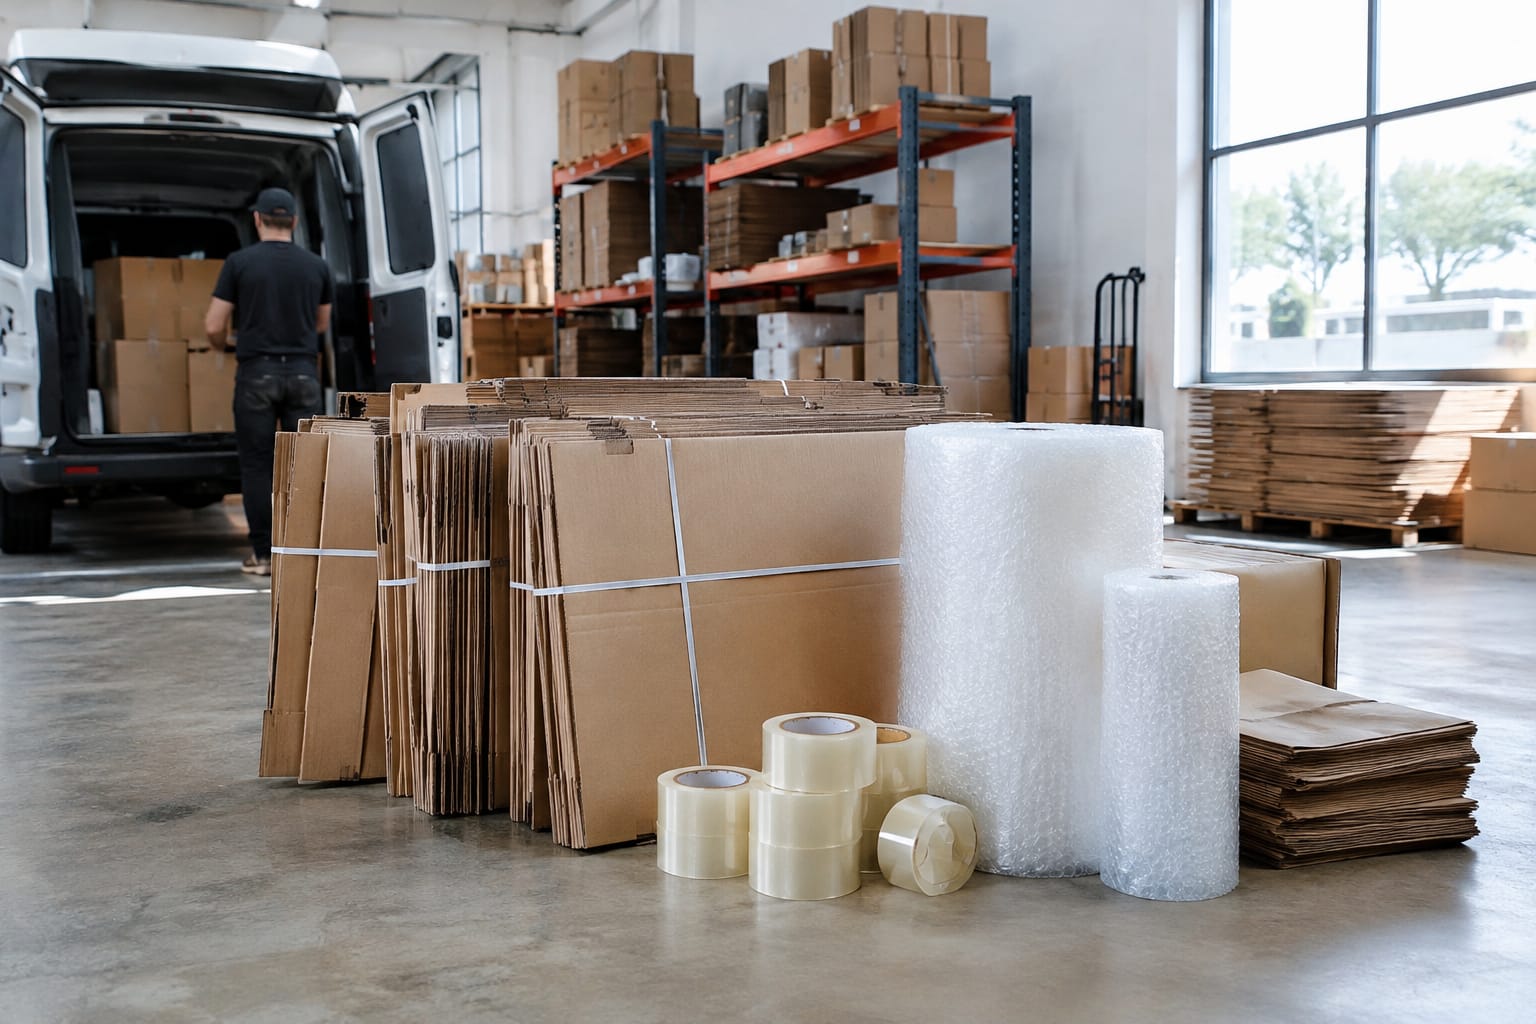
Gather supplies before you start. The list of essential packing materials and supplies covers boxes, tape and paper. For a container, add moving blankets, stretch wrap, ratchet straps and a hand truck (a two-wheeled dolly).
Then prep the furniture. Remove bed frame rails, table legs and mirror mounts, bag the hardware and tape each bag to its piece. Wrap wood furniture in moving blankets and secure the blankets with stretch wrap. The walkthrough on how to disassemble and wrap furniture before the move covers this in more detail.
Step 3: Load Heavy Items Against the Back Wall First
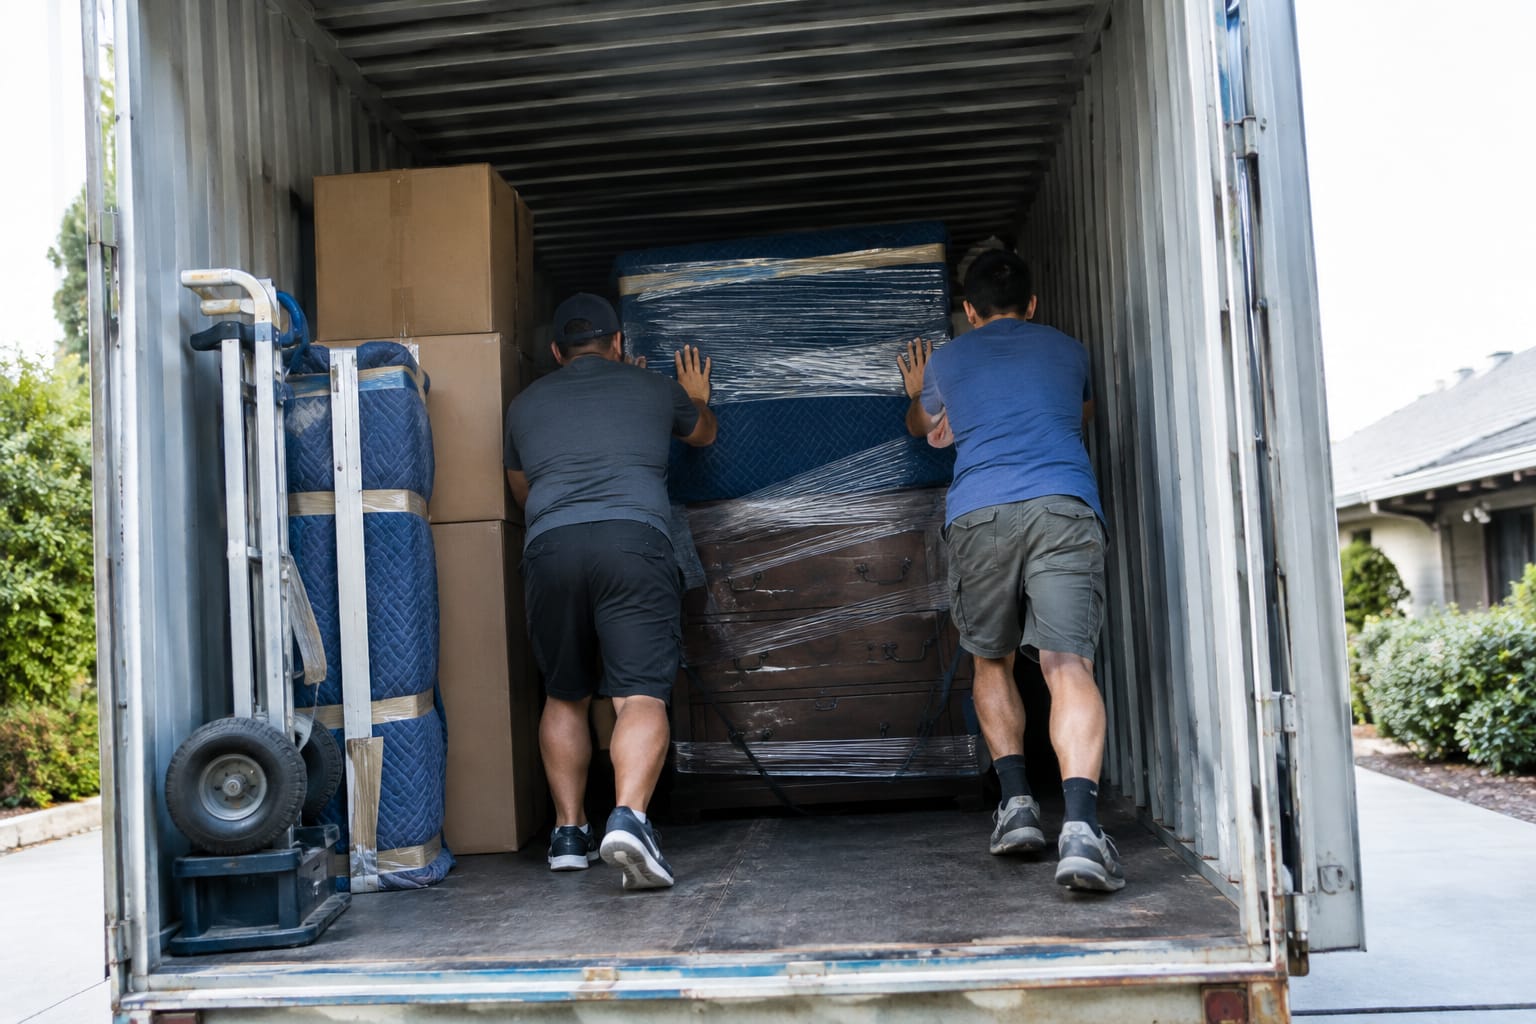
Start with the heaviest, sturdiest items against the wall farthest from the door. Refrigerators, washers, dressers and solid wood cabinets form your foundation. Keep appliances upright and centered so weight sits low and even.
Stand mattresses, box springs and headboards on edge along the side walls. Wrap them in plastic or mattress bags first, because dust and moisture collect during transit and storage.
Place long items like sofas on end when they are sturdy enough, or flat on the floor with boxes stacked on top if they are not. This guide focuses on tiering and strapping. For container-specific basics, see the guide to loading a moving pod properly.
Step 4: Build Floor-to-Ceiling Tiers and Distribute Weight Evenly
Pack the container in vertical walls, called tiers, from back to front. Each tier spans the full width and runs from floor to ceiling, roughly the depth of a dresser. Finish one tier completely before you start the next.
Inside each tier, follow this order:
- Bottom: heavy boxes and solid furniture.
- Middle: medium-weight boxes and smaller furniture.
- Top: light boxes, lampshades, pillows and bedding.
Weight distribution means balance in two directions. Heavy items go low and toward the back, and they must also be split evenly between the left and right sides. A container loaded heavy on one side tilts when it is lifted, and that is when stacks topple.
Fill the ceiling space. An empty gap between the top box and the roof gives the whole tier room to bounce. Tight tiers support each other, while loose ones collapse into each other.
Step 5: Fill Gaps and Secure Every Section With Straps
Fill every gap before you strap a tier. Push soft items like pillows, laundry bags, cushions and folded blankets into the spaces between furniture and boxes. Anything that can slide will slide.
Then secure the tier. Run a strap across the face of the section at mid-height and attach it to the tie-down rails or rings on each side wall. Add a second strap higher up on tall tiers. Tighten until the load is firm. Overtightening crushes box corners.
Q: How many tie-down straps does a moving container need?
A: Plan on at least one ratchet strap or rope per tier, anchored to the container's D-rings or tie-down rails, and add a second strap on tall or heavy sections.
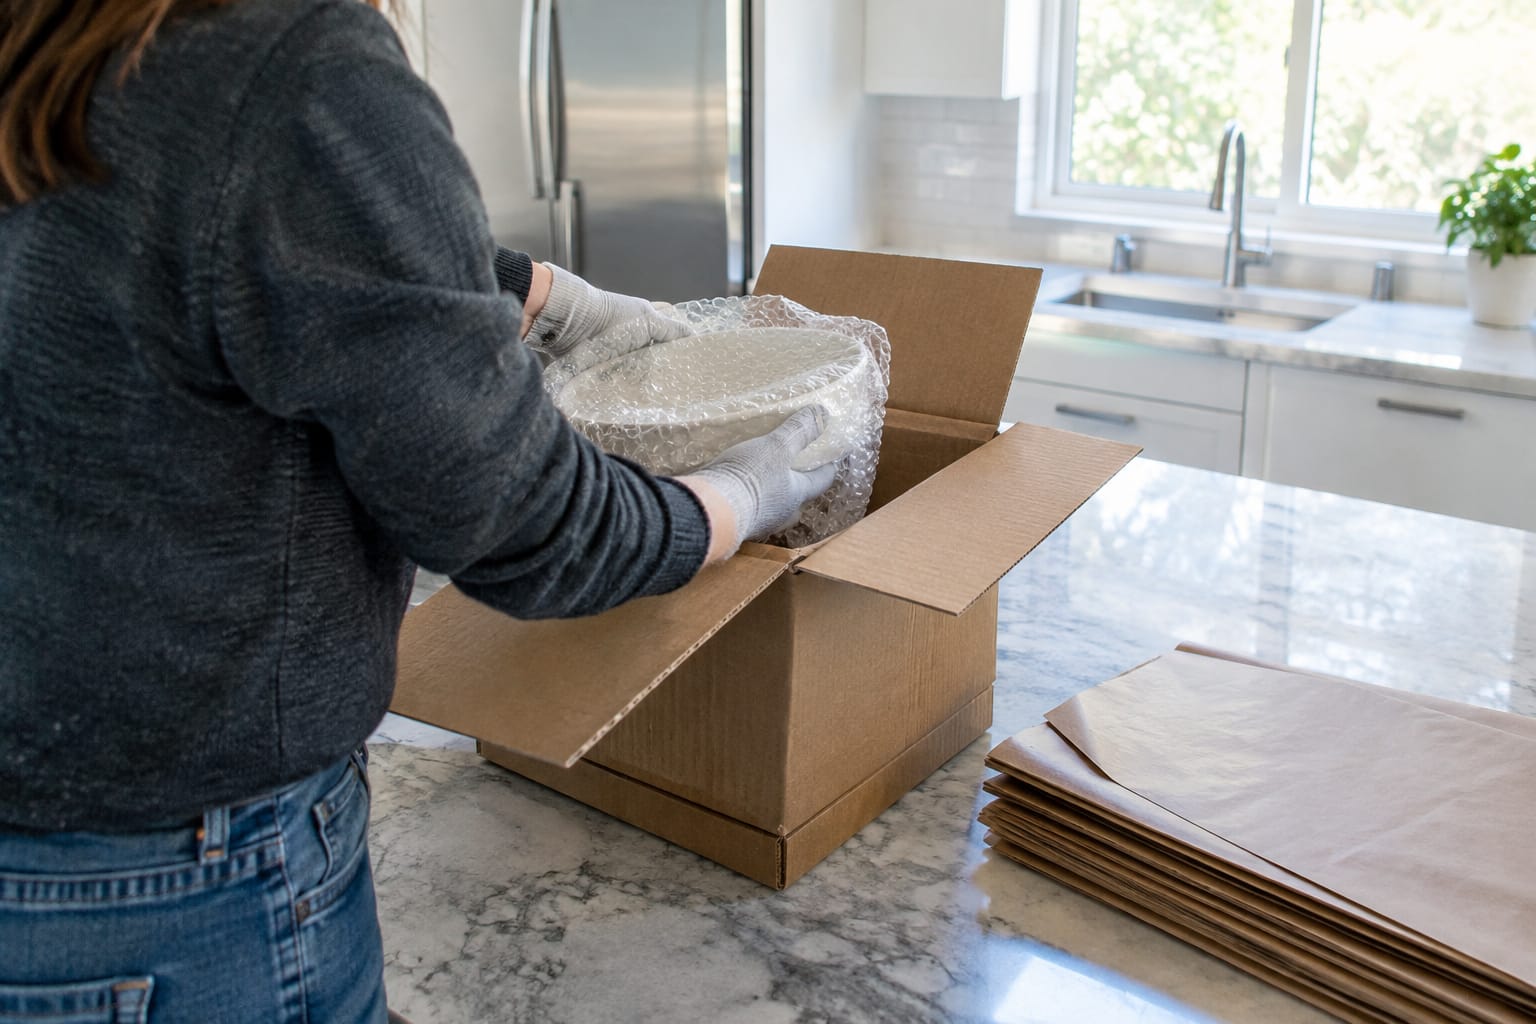
Fragile items need extra protection beyond strapping. Wrap glassware and electronics individually, and pack them in the upper middle of a tier, never at the bottom. The guide to types of bubble wrap and how to use them shows which wrap suits which item.
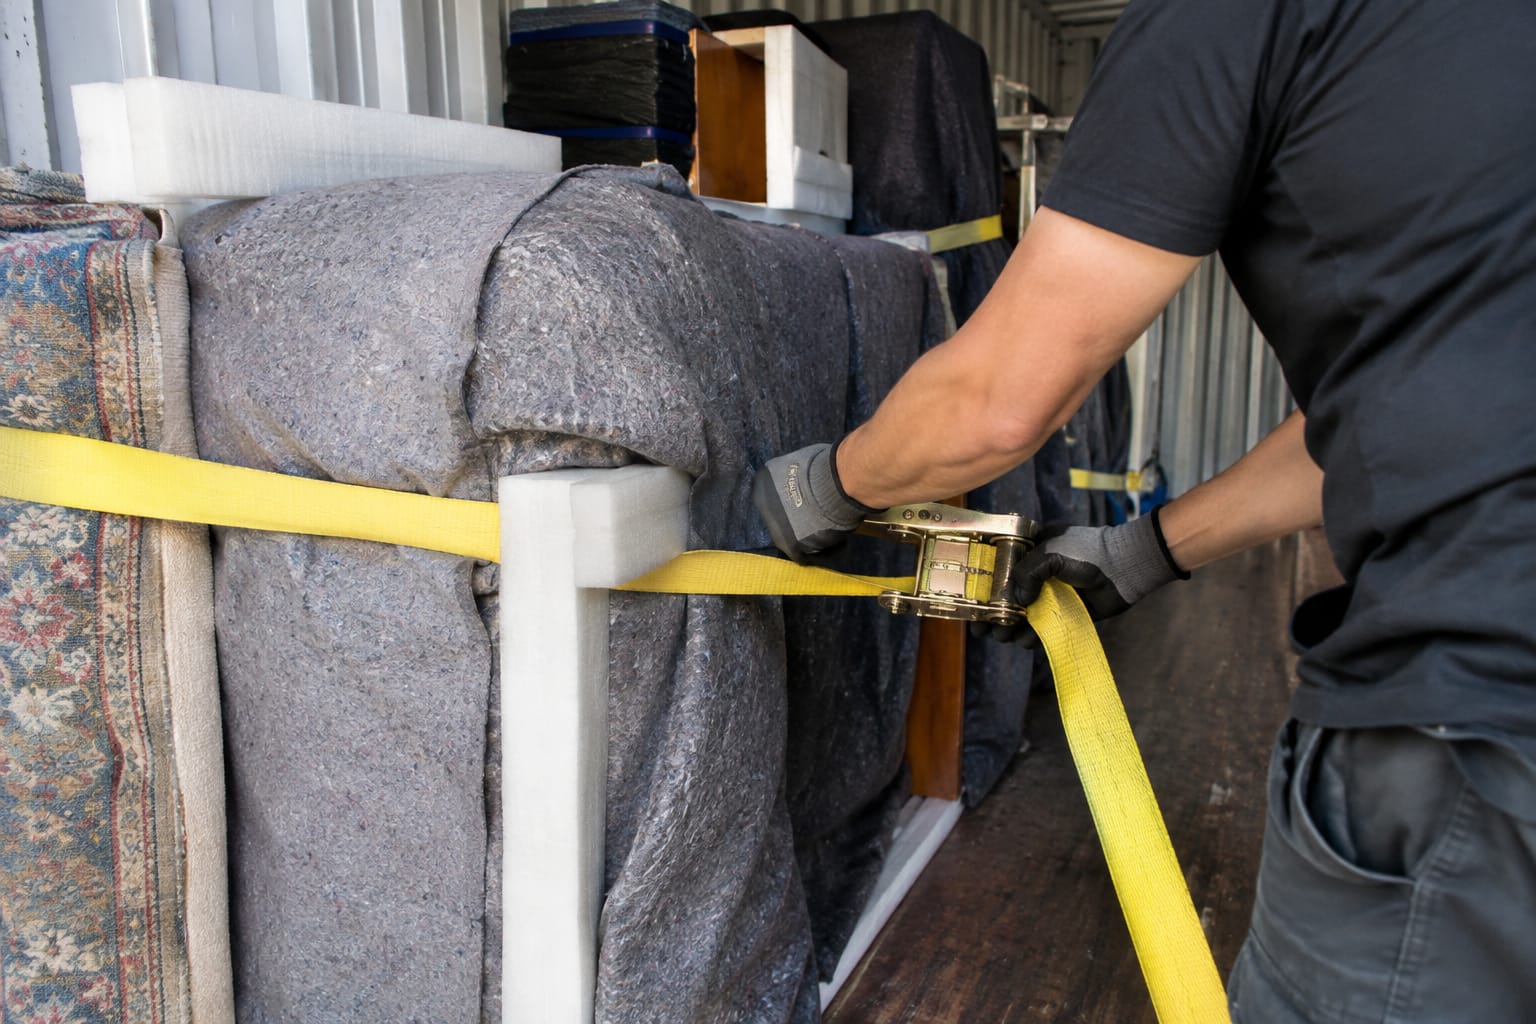
Pro Tip: Drape a moving blanket over the face of each strapped tier before you build the next one. It cushions the contact point between sections and keeps straps from biting into box edges.
Step 6: Pack the Final Section and Lock the Container
Build the last tier as carefully as the first. The final section takes the most stress at pickup, because nothing in front of it holds it in place. Strap it firmly and place a mattress or a flat, wide item against it as a brace when space allows.
Load items you will need first at the end, such as the bed frame and a box of kitchen basics. Keep a separate open-first box with tools, chargers, toiletries and medications in your car, not in the container.
Before closing, check that the door shuts without pressing against anything. Take photos of each tier for your records. Lock the container with the type of lock your provider specifies, since some require you to supply your own.
Printable Container Load Order Checklist
- Confirm provider specs and delivery spot.
- Seal, label and stage every box near the door.
- Disassemble furniture, bag the hardware and wrap pieces in blankets.
- Load appliances and heavy furniture against the back wall.
- Stand mattresses and headboards on edge along the side walls.
- Build tier one from floor to ceiling: heavy, medium, light.
- Balance weight left to right.
- Fill gaps with soft items.
- Strap the tier to tie-down points and cover it with a blanket.
- Repeat steps 6 to 9 for each tier.
- Load first-needed items last and brace the final section.
- Photograph the load, close the door without pressure and lock it.

What Not to Pack in a Moving Container
Every provider publishes a prohibited-items list, and you should read it before packing. Some items are dangerous in a sealed box. Others are simply too valuable to leave out of your sight.
Keep these out of the container:
-
Flammable and hazardous materials: gasoline, propane tanks, paint thinner, aerosols, fireworks and cleaning chemicals.
-
Perishable food: anything that spoils, attracts pests or leaks.
-
Valuables and documents: cash, jewelry, passports, titles, medications and anything irreplaceable.
-
Items you need while the container is in transit or storage.
A sealed metal box sitting in summer sun gets hot. Candles, vinyl records and some electronics react badly to that heat, so pack them carefully or transport them yourself.
Common Container Packing Mistakes That Lead to Shifting and Breakage
Most container damage traces back to a handful of avoidable errors:
- Loading by room instead of by weight. Room-by-room loading puts heavy and light items side by side, so stacks lean and fall.
- Leaving the ceiling space empty. Air gaps let tiers bounce during the lift.
- Skipping straps until the end. A single strap at the door cannot hold a load that already moved.
- Heavy boxes on top. Top-heavy tiers crush the cartons below them.
- Unwrapped furniture touching other furniture. Wood scratches against wood with every vibration.
- Overfilling the last section. A door that needs force to close is pressing on your belongings.
The common thread is movement. Every step above aims to remove space for things to shift.
Container vs Professional Loading Help vs Full-Service Movers
The right choice depends on how much heavy lifting you can safely do and how much time you have. A container is flexible, but you supply the labor. Here is how the three options compare:
| Factor | DIY container loading | Container plus hourly loading help | Full-service movers |
|---|---|---|---|
| Who packs boxes | You | You, or the crew if you add packing | Crew, if you book packing |
| Who loads and straps | You | Trained crew | Crew loads a truck |
| Heavy furniture and appliances | You and your helpers | Crew with dollies and blankets | Crew with dollies and blankets |
| Schedule flexibility | High, within the rental period | Crew booked for a set time window | Delivery window agreed in writing |
| Physical effort for you | Highest | Moderate | Lowest |
DIY loading makes sense for small households, light furniture and helpers you trust. It gets risky with heavy appliances, steep driveways or long-distance moves where a poorly strapped load has hundreds of miles to shift.
Q: Can I hire movers to load a PODS container I rented?
A: Yes. Many local moving companies sell labor-only loading for rented containers such as PODS, typically billed hourly with a minimum, so ask about minimums, travel time and supply charges when you book.
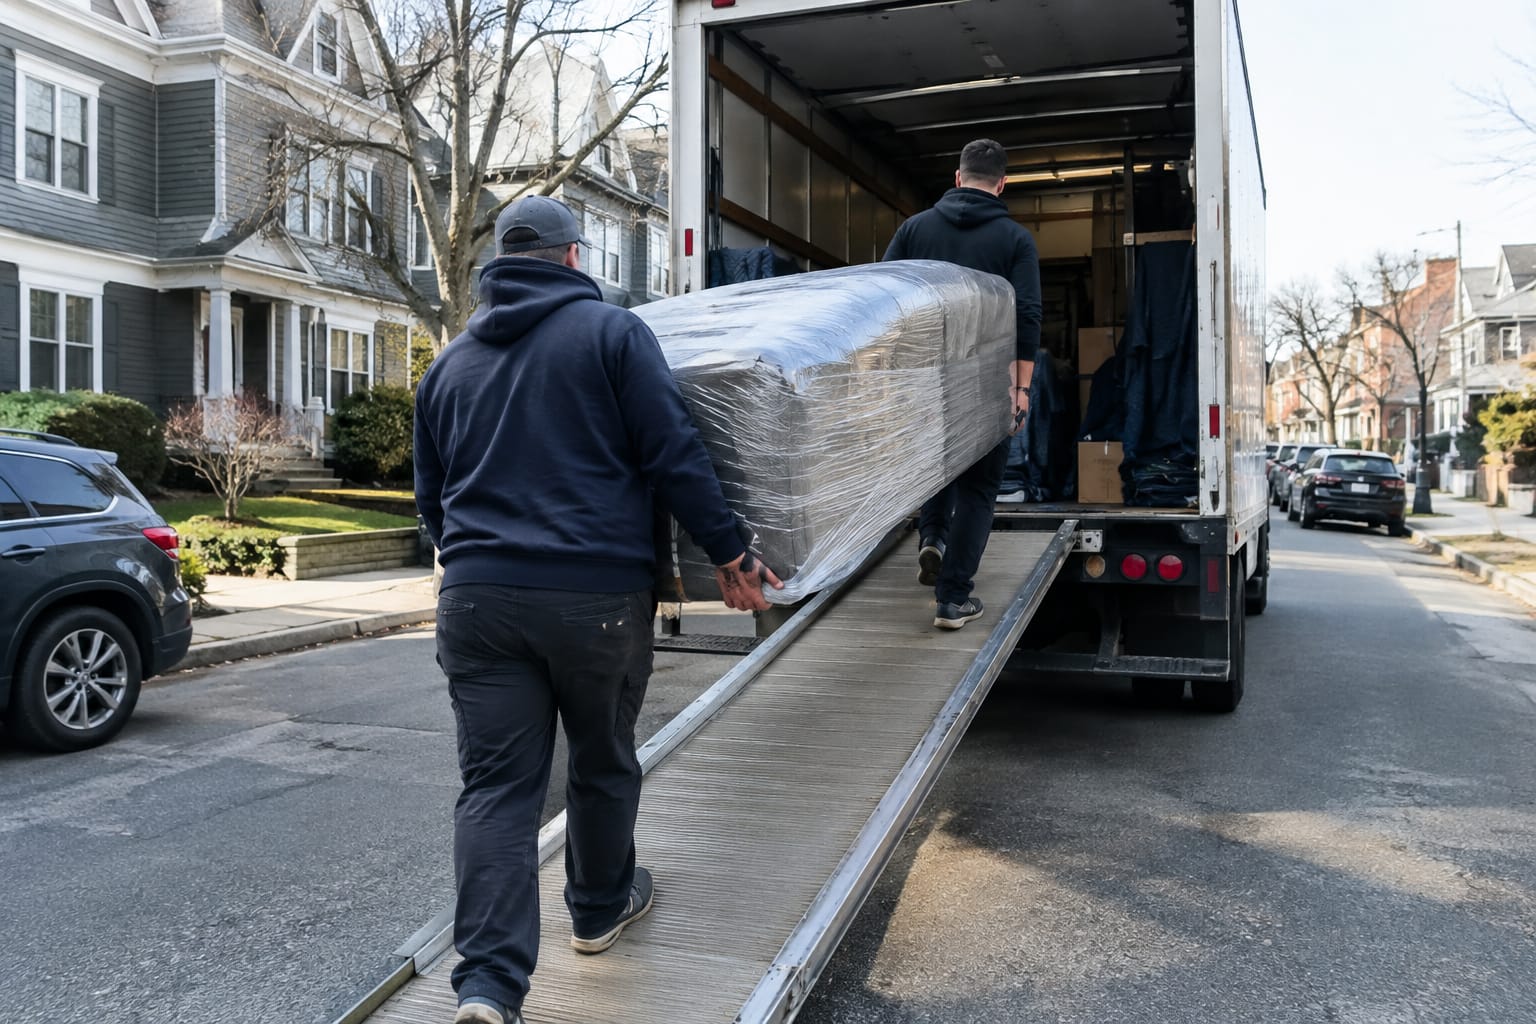
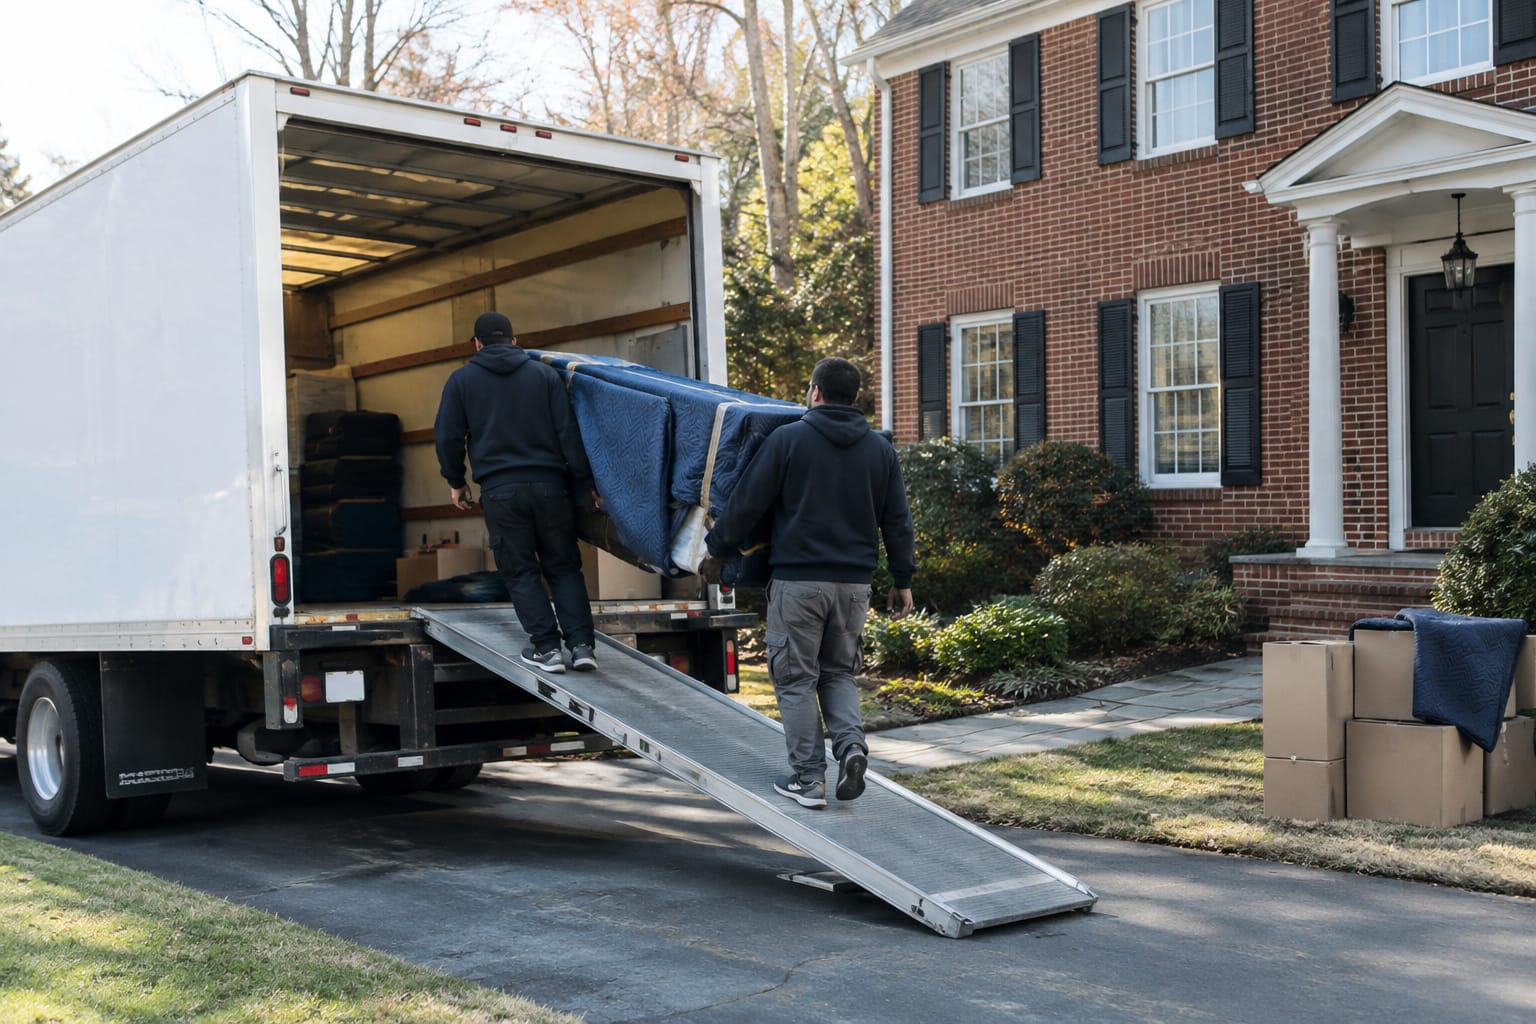
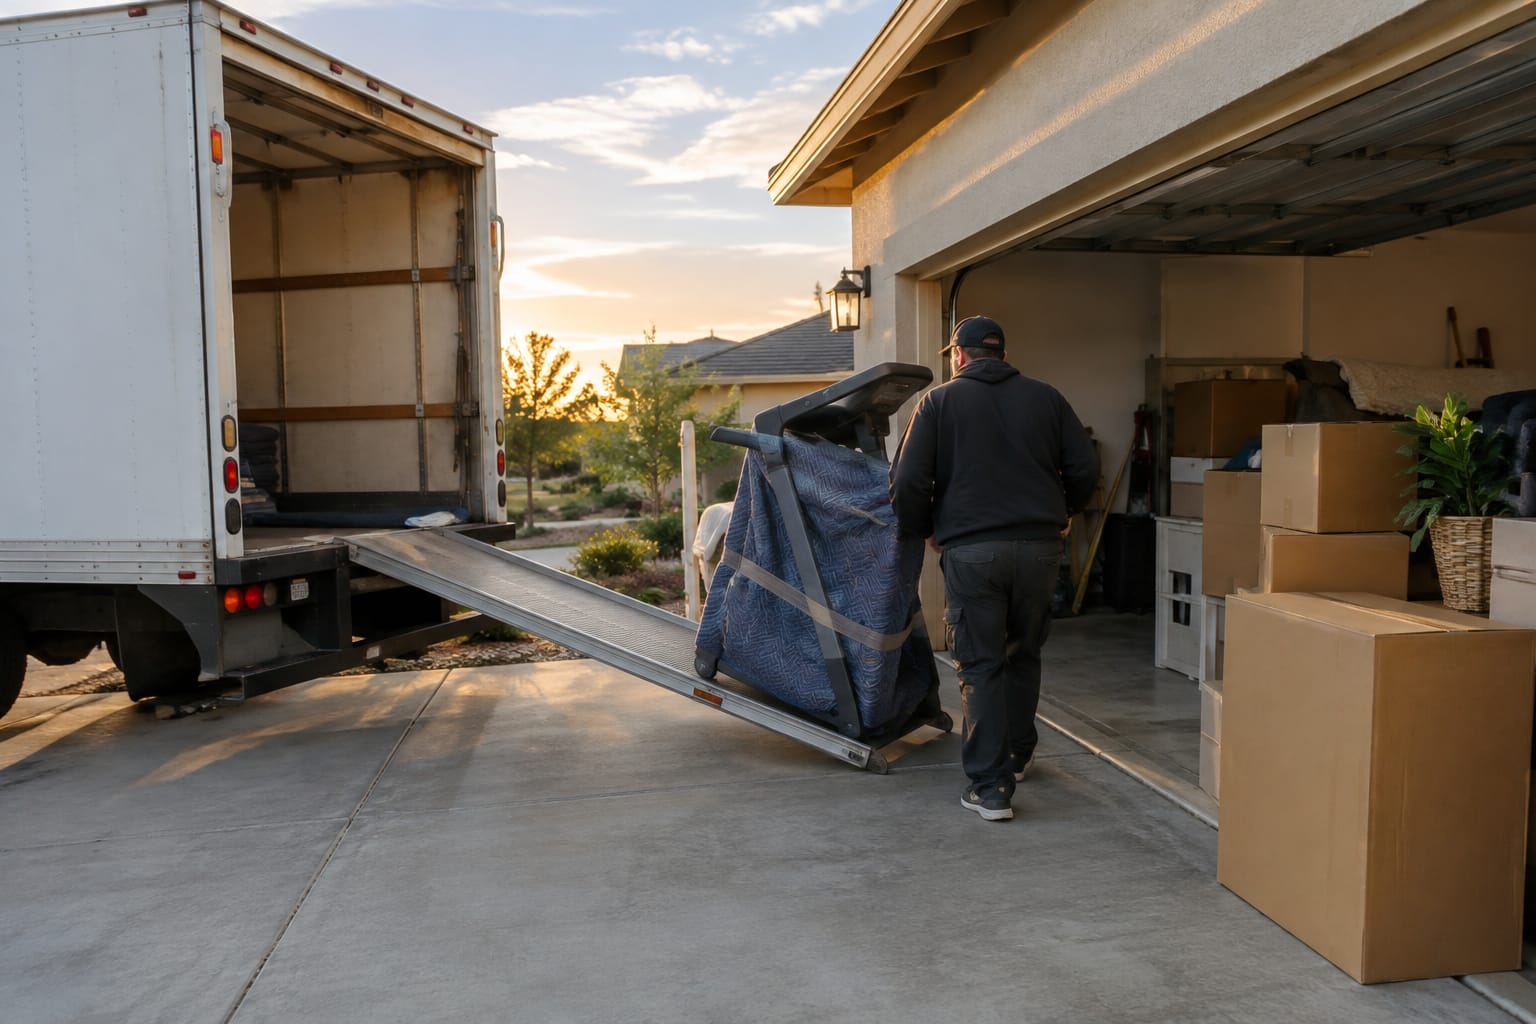
In Greater Boston, crews that offer hourly help loading a portable container can wrap furniture, build tiers and strap sections while you handle the boxes. Ask whether packing supplies like blankets, stretch wrap and boxes are billed separately from hourly labor, because they often are.
If you would rather skip the container entirely, compare what full-service moving includes.
Should a moving container be packed completely full?
Pack each tier tight from floor to ceiling, but do not force extra items in at the door. If the container is not full, strap and brace the final tier so the empty floor space in front of it cannot let the load slide forward.
Is it better to store belongings with a moving company than keep a container?
It depends on access and duration. A container on your property is convenient for a short gap between homes. For longer gaps, storage with an itemized inventory, where offered, keeps furniture wrapped and every box listed.
Written by Born to Move Team
Useful Links
- How to Properly Load a Moving Pod
- Tips on How to Prepare Furniture When Relocating
- What Packing Supplies Do I Need for Moving?
- Moving and Storage
- Packing and Loading Services
Need help with this? Lawrence Movers · Get a quote · Call (617) 903-2609
Frequently Asked Questions