Moving to assisted living involves two jobs: planning around the rules and size of the new room, and packing only what fits that space. Here is the process in seven steps, in order:
- Get the facility's move-in rules, room dimensions and furniture limits.
- Build a floor plan before you decide what furniture comes along.
- Pack room by room from a checklist.
- Decide what not to bring and where the leftover belongings will go.
- Label, inventory and protect sentimental and fragile items.
- Schedule movers, elevator time and building paperwork.
- Set up the new room so it feels like home on day one.
Most guides on what to bring to assisted living stop at the packing list. The harder part is logistics: fitting decades of belongings into one or two rooms, booking the building, and avoiding rushed keep-or-toss decisions. This guide is for the adult child coordinating the move. It covers logistics only. Questions about care, medications or permitted items belong with the facility's own staff.

Key Takeaways
- Measure before you pack. Get the facility’s written move-in rules and measure the actual room. Supplied furniture, restricted items and door widths determine everything else.
- Plan furniture on paper. A scaled floor plan, or painter’s tape on the floor, shows which pieces fit and leaves clear walking paths before anything is loaded.
- Some items never ride on the truck. Documents, jewelry, cash, medications and daily essentials stay in one bag with one family member all day.
- Book the building, not just the movers. Reserve elevator time and ask the facility whether movers must provide a Certificate of Insurance (COI).
- Storage removes the deadline. Short-term storage lets the family make keep-or-give decisions after move-in instead of under pressure.
Step 1: Get the Facility's Move-In Rules, Room Dimensions and Furniture Limits
Start with the facility, not the closets. Every assisted living community has its own move-in rules. Two buildings in the same town can differ on furniture, wall hangings and move-in hours.
Ask the move-in coordinator or administrator for written answers to these questions:
- Room dimensions. Get the length, width, door widths, and the locations of windows, outlets, closets and heating units.
- Supplied furniture. Ask whether the facility provides a bed, dresser or nightstand, and whether those pieces must stay in the room.
- Restricted items. Many facilities limit candles, space heaters, extension cords, area rugs and some small appliances. The list varies, so get it in writing.
- Move-in logistics. Ask about permitted move-in hours, which entrance or loading area movers should use, and whether the elevator must be reserved.
- Insurance paperwork. Ask whether movers must provide a Certificate of Insurance (COI) before they can work in the building.
- Personal-care items and medications. Ask staff how these should arrive on move-in day. Follow their instructions exactly.
Pro Tip: Even if the facility hands over a printed floor plan, measure the actual room yourself during a visit. Printed plans often leave out baseboard heaters, built-in shelves and how the door swings. Each of these takes usable wall space.
Step 2: Build a Floor Plan Before Deciding What Furniture Comes Along
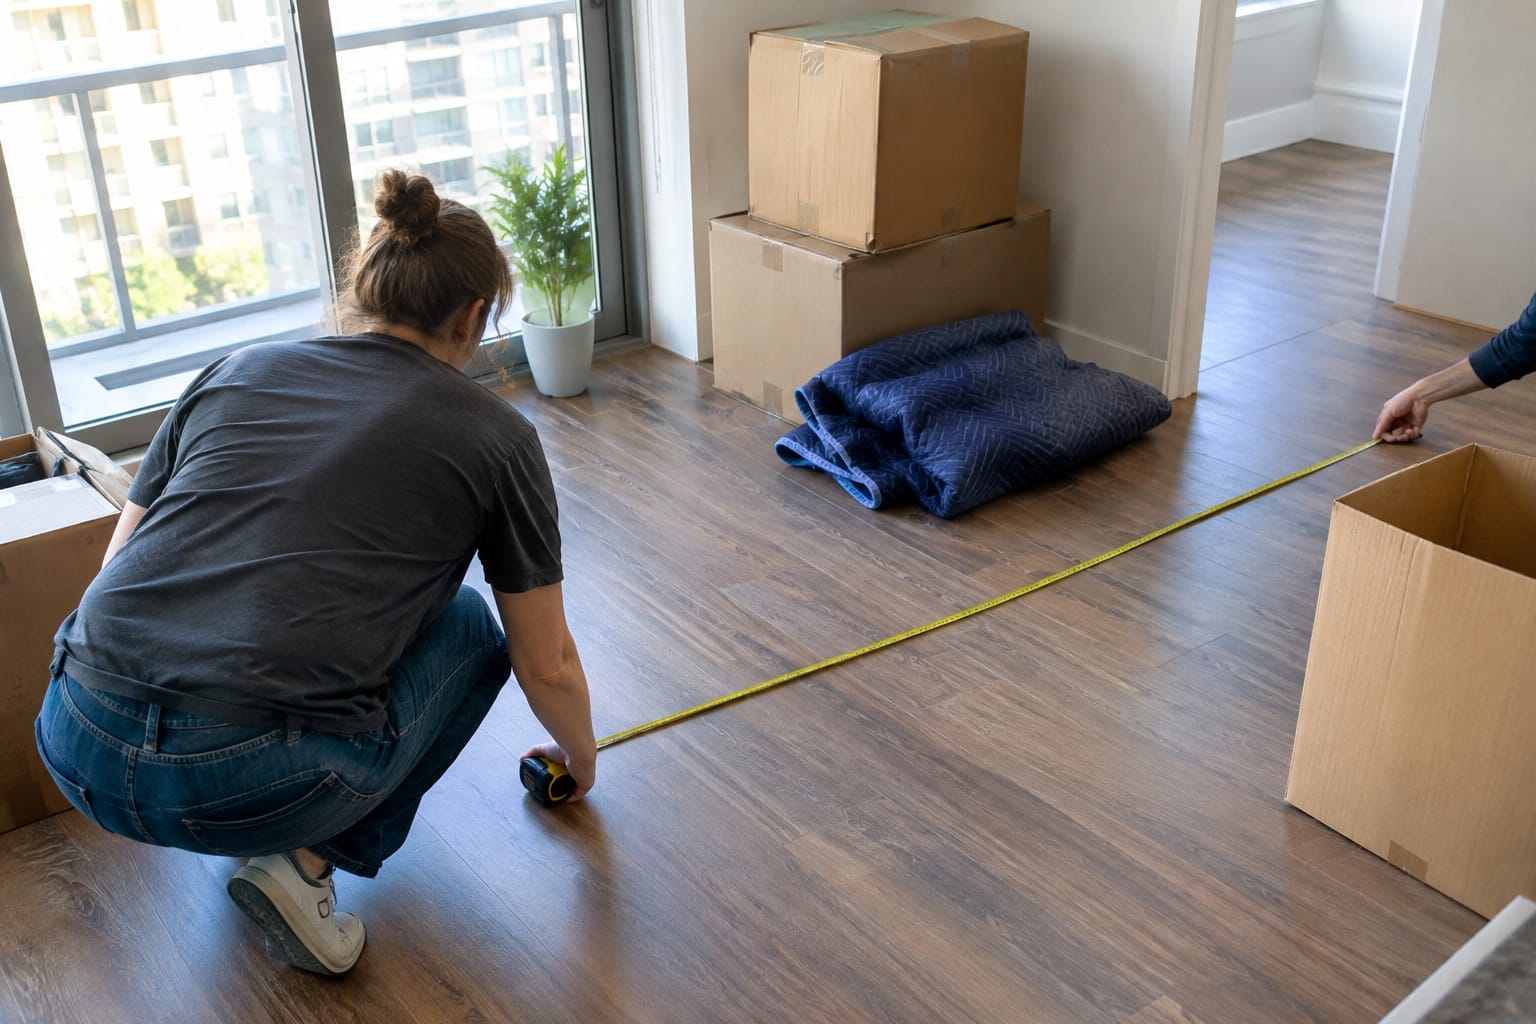
A simple floor plan settles most furniture arguments before they start. Draw the room on graph paper with each square equal to one foot. Then cut paper shapes to the measured size of each piece of furniture you're considering.
Measure the furniture, not just the room. Record each piece's width, depth and height. Also check whether it can make the turns in the facility's hallway and doorway. A recliner that fits the room can still jam in a narrow corridor.
When choosing assisted living apartment furniture, put the pieces your parent uses every day first:
- The favorite chair or recliner
- A bed, if the facility doesn't supply one, with familiar bedding
- A nightstand with a lamp within reach
- A small dresser or chest
- A compact table with one or two chairs for meals, cards or visitors
- A small bookshelf or display shelf for photos and keepsakes
Large sectionals, full dining sets, armoires and king-size beds rarely fit. Leave clear walking paths through the room. Ask the facility whether it has clearance requirements for walkers or wheelchairs.
Another method is to mark the room's outline with painter's tape on the floor of the current home. Your parent can then see the space and help choose which pieces go inside it. Involving them respects their choices and cuts down on second-guessing later.
Step 3: What to Pack for an Assisted Living Room (Room-by-Room List)
Pack for daily life in a smaller space, not for every possible occasion. The table below is a quick assisted living packing list. The right-hand column shows items to leave out or to confirm with the facility first.
| Pack | Don't pack (or confirm with the facility first) |
|---|---|
| Clothing for the current season, plus a few layers | A full four-season wardrobe; rotate it in from family or storage |
| Familiar bedding, a favorite quilt, pillows | Furniture that doesn't fit the floor plan |
| One or two comfortable chairs | Dining sets, sectionals, armoires |
| Framed photos and a small selection of keepsakes | Entire collections; choose a few favorites |
| Toiletries and personal-care items, per facility guidance | Items on the facility's restricted list, such as candles or space heaters |
| Phone, tablet, chargers, glasses, hearing-aid supplies | Cash, jewelry and original documents; these travel with family |
| Reading lamp, large-display clock, wall calendar | A full set of kitchen cookware and appliances |
| Name-labeled clothing, if the facility asks for it | Lawn, garage and household tools |
Use this room-by-room checklist on packing day:
Sleeping area
- Sheets, two sets of bedding, favorite blanket or quilt
- Pillows
- Bedside lamp and alarm clock
- Nightstand items: glasses case, tissues, a book
Bathroom
- Towels and washcloths
- Toiletries and grooming items
- Shower and bath items the facility allows
Living area
- Favorite chair and a small side table
- Television or radio, plus remote controls
- Framed photos, a few books, hobby supplies
- Wastebasket
Closet
- Everyday outfits for the season
- Shoes with good grip, slippers, a coat
- Hangers and a laundry hamper
- Name labels, if the facility does shared laundry
Kitchenette (if the room has one)
- A few mugs, plates and utensils
- Snacks and drinks the facility permits
- Small appliances only if they're cleared in writing
Step 4: What Not to Bring and How to Handle Leftover Belongings
What not to bring to assisted living falls into three groups:
- Items the facility restricts
- Furniture that doesn't fit the floor plan
- Things that only make sense in a house, such as yard equipment, a full workshop or a second set of dishes
A fourth group needs its own plan: items that should never ride on the moving truck.
Travels with family, not on the truck:
- Identification, insurance cards and original documents, such as deeds, wills and powers of attorney
- Jewelry, cash, checkbooks and small valuables
- Medications and anything else staff asked you to hand-deliver
- Glasses, hearing aids, phone and charger
- A day's change of clothes and the toiletries needed for the first night
- Keys and irreplaceable sentimental items
These items are hard to replace and easy to misplace when boxes and furniture are moving. Keep them in one bag that stays with one family member all day.
Everything left in the house still needs a destination. Sort it into four groups: the new room, family members, storage, and donate, sell or discard. Downsizing for assisted living is easier when your parent chooses who receives an heirloom. They can share the story behind it while they're still at hand.
Q: How do you change a parent's mailing address when they move to assisted living?
A: Confirm the current change-of-address procedure with the U.S. Postal Service. Then update banks, pharmacies and benefit providers directly.
Not every decision has to be made before move-in day. If the family can't agree on the dining set or the boxes of photo albums, storage can hold them until there's time to decide. The final section of this guide covers that option.
Step 5: Label, Inventory and Protect Sentimental and Fragile Items
Good labels decide whether each box lands in the right place. Use color-coded labels by destination. Pick one color for the assisted living room, one for storage, and one for each family member receiving items. On each box, write both the contents and the destination.
Number every box. Keep a simple inventory sheet listing each number, its contents and its destination. Before you unplug any electronics, photograph how they're wired. That way the TV and phone can be reconnected quickly in the new room.
Sentimental pieces need the most care because they can't be replaced. Wrap framed photos, figurines and glassware individually. Pad them on all sides and pack them in small boxes so they aren't too heavy. For layering and box selection, see this guide to wrapping fragile keepsakes. For wrapping dishes and frames, review how to use packing paper when moving house.
Pro Tip: Pack a clearly marked first-night box. Include sheets, a towel, a lamp, a phone charger, a framed photo and a few daily-use items. Load it last and unload it first.
Step 6: Schedule Movers, Elevator Time and Building Paperwork
Once the facility confirms the move-in date, book the movers and the building at the same time. Tell the moving company about every stop: the current home, the facility and any storage location. Also describe stairs, elevators, the walk from the truck to the door, and where the truck can park.
Assisted living buildings often share one elevator among residents, staff and deliveries. Reserve a specific time window in advance. Ask whether the building protects elevator walls and floors or expects the movers to bring pads. This walkthrough on how to reserve a building elevator for moving day covers what to ask building management.
Q: Do movers need a Certificate of Insurance (COI) for an assisted living move?
A: Often, yes. Many senior living buildings require a COI naming the property before movers can use the elevator or loading area. Ask the facility whether a COI is required, and send its exact requirements to the moving company early.
Before you book, confirm the following with any mover:
- How the estimate is calculated, and whether travel time is billed
- What default liability coverage applies, and what optional valuation coverage costs
- Whether packing supplies are billed separately from labor, which is common
- Whether the crew will reassemble basic furniture and remove packing debris at the new room
If your parent can't pack, or family members live far away, some households hire packing and unpacking help for the fragile or time-consuming parts. Families often reserve that help for kitchens and keepsakes and handle the rest themselves.

Step 7: Set Up the New Room So It Feels Like Home on Day One
The goal for day one is a room that already looks lived in when your parent walks through the door. Place furniture according to the floor plan from Step 2. Have the crew reassemble the bed and other basic furniture before they leave.
Set up the room in this order:
- Make the bed with familiar bedding.
- Position the favorite chair with a lamp and side table beside it.
- Set out framed photos where they're visible from the bed and the chair.
- Put everyday clothes in drawers and hang the coat by the door.
- Connect the TV, radio, phone and chargers using the wiring photos from Step 5.
When possible, copy the layout of the old bedroom, such as which side of the bed the nightstand was on. Familiar arrangements make a new space easier to settle into. Ask the facility about its rules for hanging pictures before anyone drills into the walls.
Finish with a walk-through. Check that every box marked for the room arrived and that the walking paths are clear. Remove packing debris so the room isn't crowded with flattened boxes.

Using Short-Term Storage While the Family Decides What to Keep
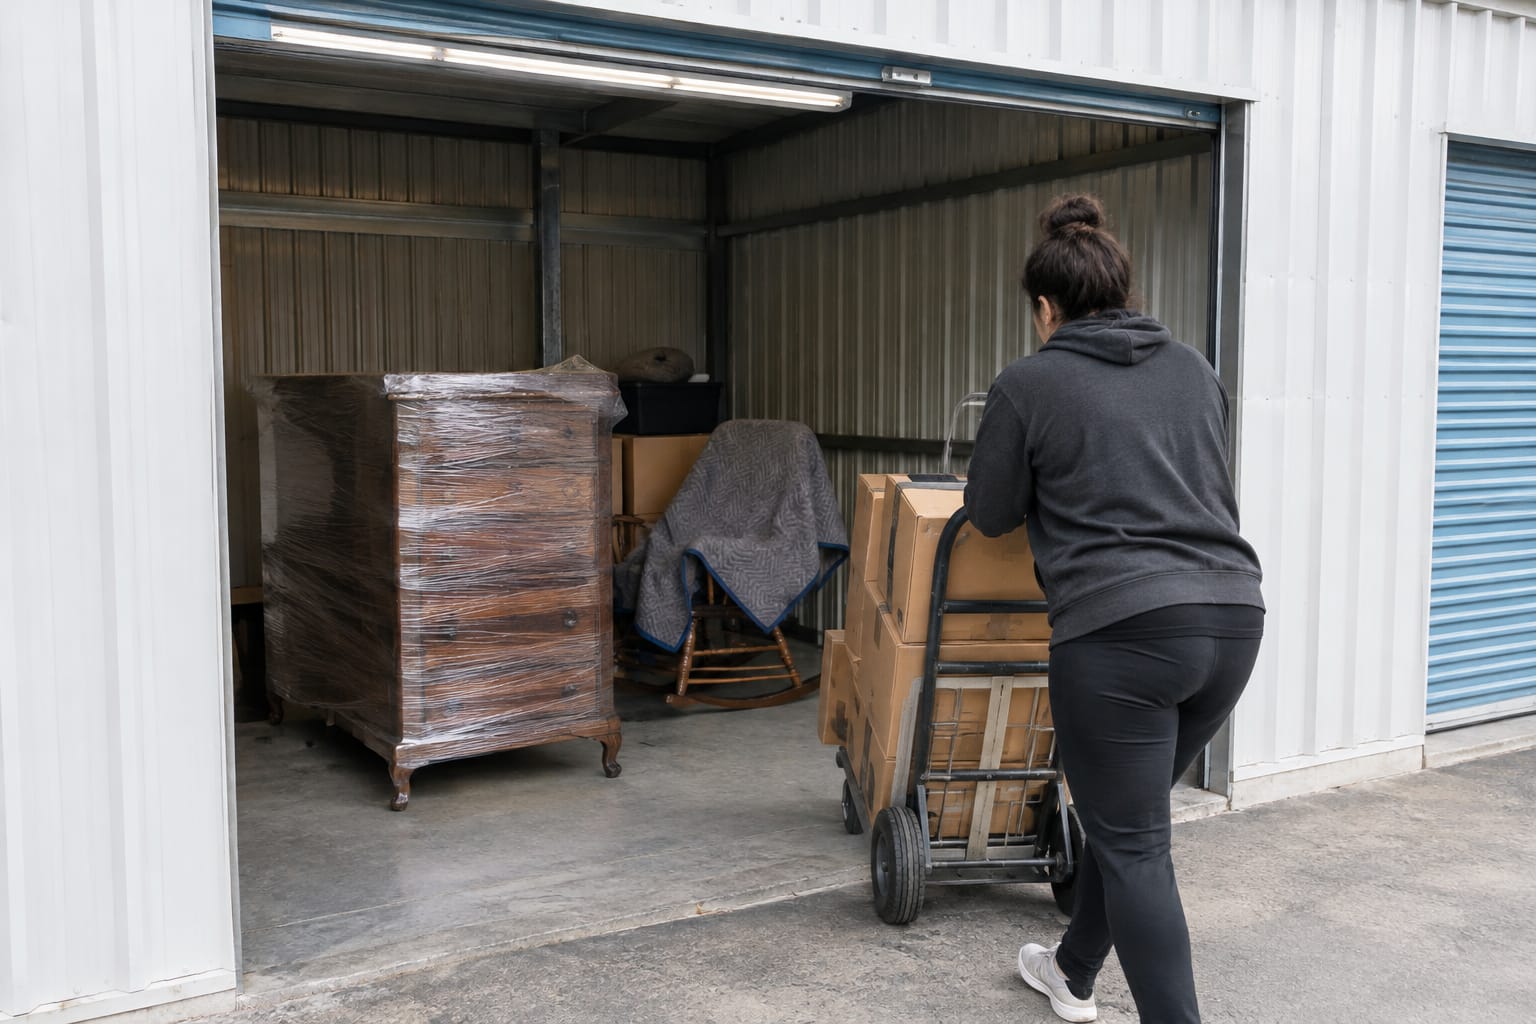
Short-term storage separates the move date from the decision date. Families no longer have to sort a lifetime of belongings under a facility's move-in deadline. Undecided furniture and boxes can go to short-term storage while you decide, and the family can sort through them later.
Storage for downsizing works best with a clear structure:
- Inventory everything. Number each item and box, and keep the inventory sheet with the family.
- Wrap furniture before it goes in. Blankets and shrink wrap keep dust and scuffs off pieces that may go to relatives later.
- Set a review date. Storage is billed by the month, so agree on when the family will meet to decide.
- Ask about access. Some storage requires an appointment, while self-storage allows walk-in visits. Choose based on how often the family expects to retrieve items.
Size the space from the inventory, not by guessing. This guide to estimating how much storage space you need explains how to match a list of furniture and boxes to a unit size.
Stored items also give the new room flexibility. Seasonal clothing, holiday decorations and rotating photos can come out of storage as needed. The room stays uncluttered.
How far in advance should you start planning a move to assisted living?
Start as soon as the facility confirms a move-in date. Request the move-in rules and room dimensions first, because every other step depends on them. Downsizing a long-time family home usually takes longer than families expect. Leave several weeks for sorting, and book movers and elevator time early.
Should a parent be present on moving day to assisted living?
It depends on the parent and the family, and facility staff can share what has worked in their building. A common approach splits the day. One relative spends calm time with the parent away from the noise, while another directs the movers. The parent then arrives once the room is set up. Other parents prefer to direct furniture placement themselves, and the floor plan makes that easier.
Written by Born to Move
Useful Links
- Moving and Storage
- Packing and Unpacking Services
- How to Reserve an Elevator for Your Move
- How to Prepare Furniture When Relocating
- List of Essential Packing Materials and Supplies
Need help with this? About us · Get a quote · Call (617) 903-2609
Frequently Asked Questions