Packing and moving fine art and framed artwork safely comes down to four rules. Never let plastic touch a painted surface. Protect every corner. Keep pieces standing upright. Label each box Fragile – This Side Up.
After those rules, the method depends on the piece. Glass-fronted frames, acrylic glazing, stretched canvas, works on paper and mirrors each get damaged in different ways, so each needs its own approach. This guide covers each type step by step. It also explains when DIY packing stops making sense and custom crating or a specialist art handler is the better choice.
Key Takeaways
- Four core rules. Keep plastic off painted surfaces, protect every corner, keep pieces upright, and label every box Fragile – This Side Up.
- Match the method to the piece. Glass, acrylic, stretched canvas, works on paper and mirrors each fail differently, so each needs a different first layer and container.
- Glassine goes first. A soft, non-shedding layer such as glassine touches the artwork. Bubble wrap and rigid boards go on the outside.
- Never tape acrylic. Low-tack tape belongs on glass only. Acrylic scratches easily and its static can lift pastel or charcoal off the paper.
- Know when to call a specialist. Irreplaceable, oversized, ornate or long-distance pieces are candidates for custom crating or white-glove handling.
- Confirm coverage in writing. Ask your own insurer and any mover how transit protection applies before moving a valuable piece.
Quick Answer: The Packing Method for Each Type of Artwork
The four core rules apply to every piece. The table below shows how the first layer, outer protection and box change by artwork type. Use it as a reference while you work through the steps.
| Artwork type | Main risk in transit | First layer (touches the piece) | Outer protection | Container |
|---|---|---|---|---|
| Glass-fronted framed art | Broken glass, crushed corners | Glassine or packing paper over the glass | Corner protectors, then two layers of bubble wrap | Picture box, carried upright |
| Acrylic-fronted framed art | Scratches; static can lift pastel or charcoal | Glassine only, with no tape on the acrylic | Corner protectors, then bubble wrap with bubbles facing out | Picture box, carried upright |
| Stretched canvas | Punctures, dents, trapped moisture | Glassine over the painted face | Foam board or rigid cardboard on both sides, then bubble wrap | Snug box or custom crate |
| Unframed works on paper | Creases, tears, fingerprints | Acid-free folder or glassine sheets between pieces | Rigid board on both sides | Flat portfolio or flat box, kept flat |
| Mirrors | Cracked glass from flexing or impact | Cardboard or foam sheet over the mirror face | Corner protectors, then bubble wrap | Telescoping mirror box, carried upright |
One pattern runs through the whole table. The material that touches the artwork is always soft, dry and non-sticky. The rigid and cushioning layers go on the outside.
Step 1: Document Condition and Value Before You Pack
Record each piece before any wrapping goes on. If something gets damaged, you need clear proof of how it looked before the move. Without that proof, it is hard to tell whether a chip is new.
For each piece, capture:
- Photos of the front, back and all four corners in good, even light, plus close-ups of any existing chips, cracks or loose joints.
- Measurements, height, width and depth, so you can order the right size of picture box.
- Labels and markings on the back: gallery stickers, artist signatures, edition numbers and framer labels.
- Paperwork such as receipts, certificates of authenticity and any recent appraisal.
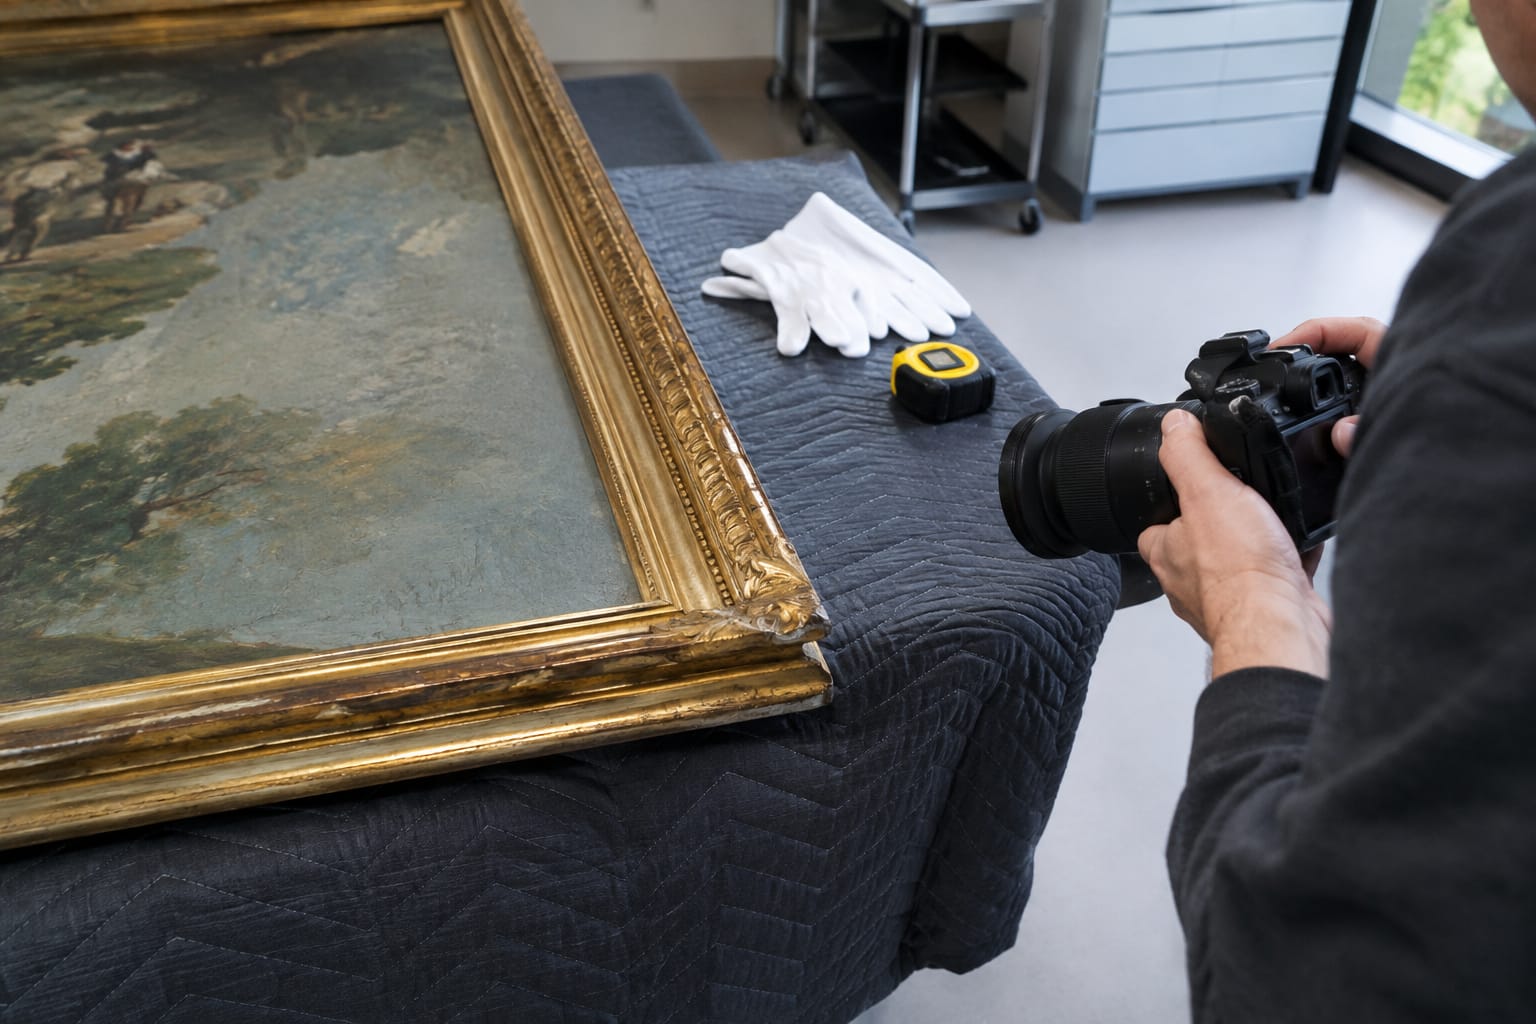
Keep the photos and a simple condition sheet in a cloud folder, not inside the moving boxes. If a valuable piece already has flaking paint, a lifting mat or a torn canvas, have it assessed before the move. Transit tends to make existing damage worse. The American Institute for Conservation's Find a Conservator directory lists trained conservators by location and specialty.
Pro Tip: Photograph how each piece hangs, including the wire, D-rings or cleat on the back and its spot on the wall. Those photos make rehanging much faster and help you spot any hardware that loosened in transit.
Step 2: Gather the Right Materials
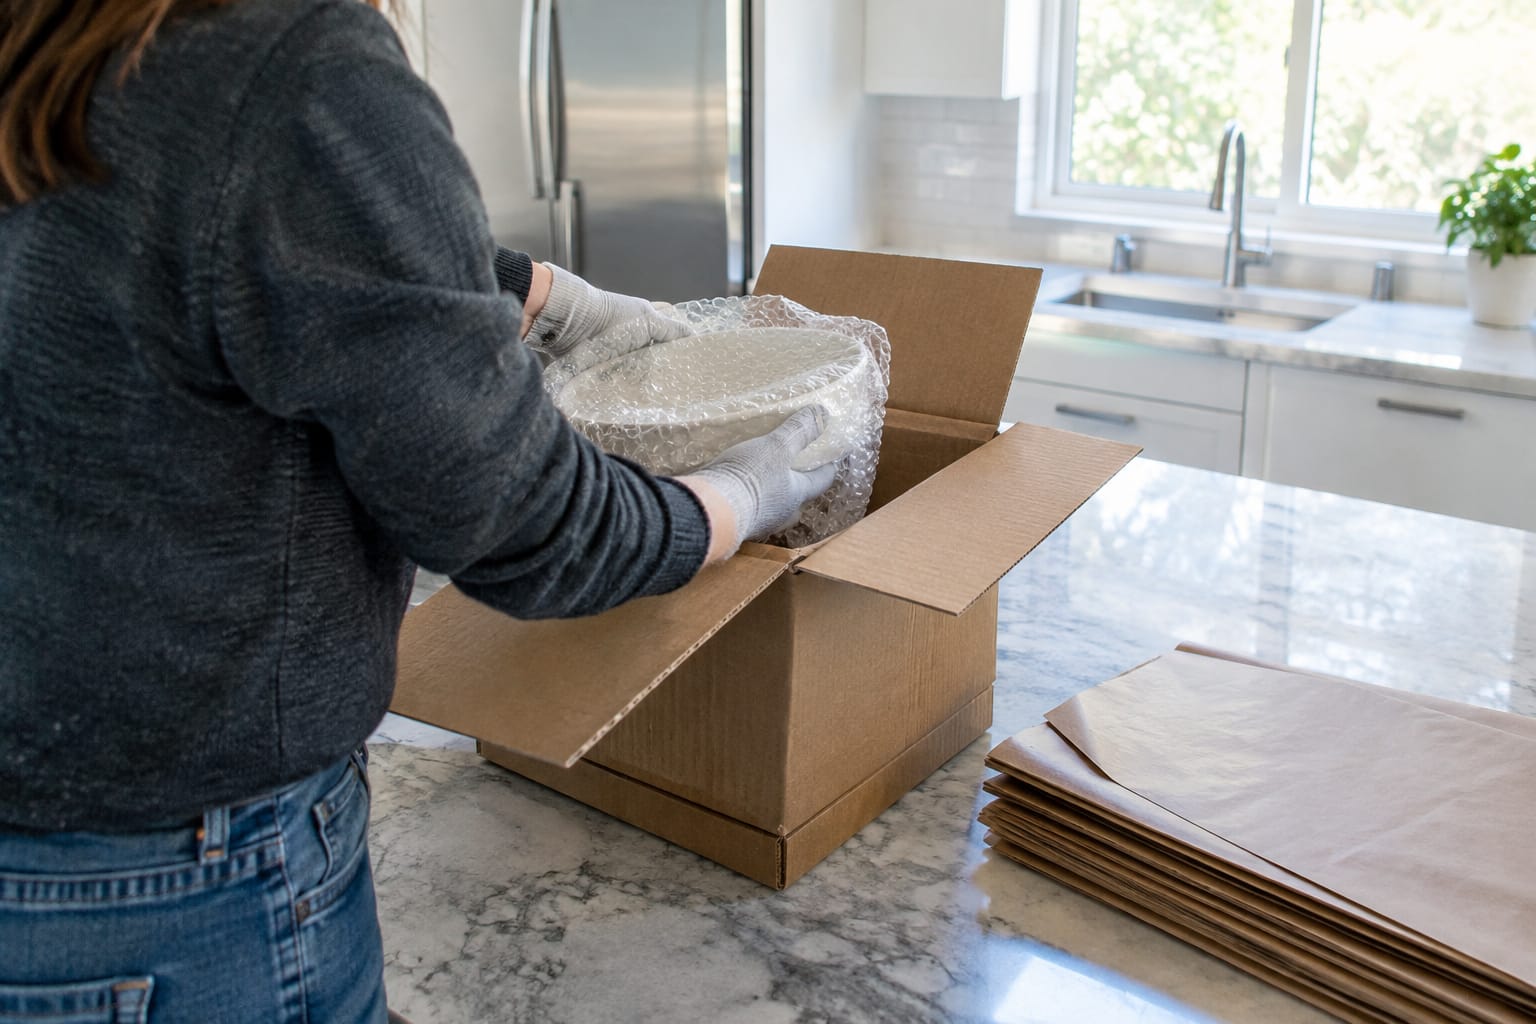
Art packing needs a few specialist supplies on top of standard moving boxes. Buy them before packing day. Improvising with towels and newspaper is how most art gets damaged.
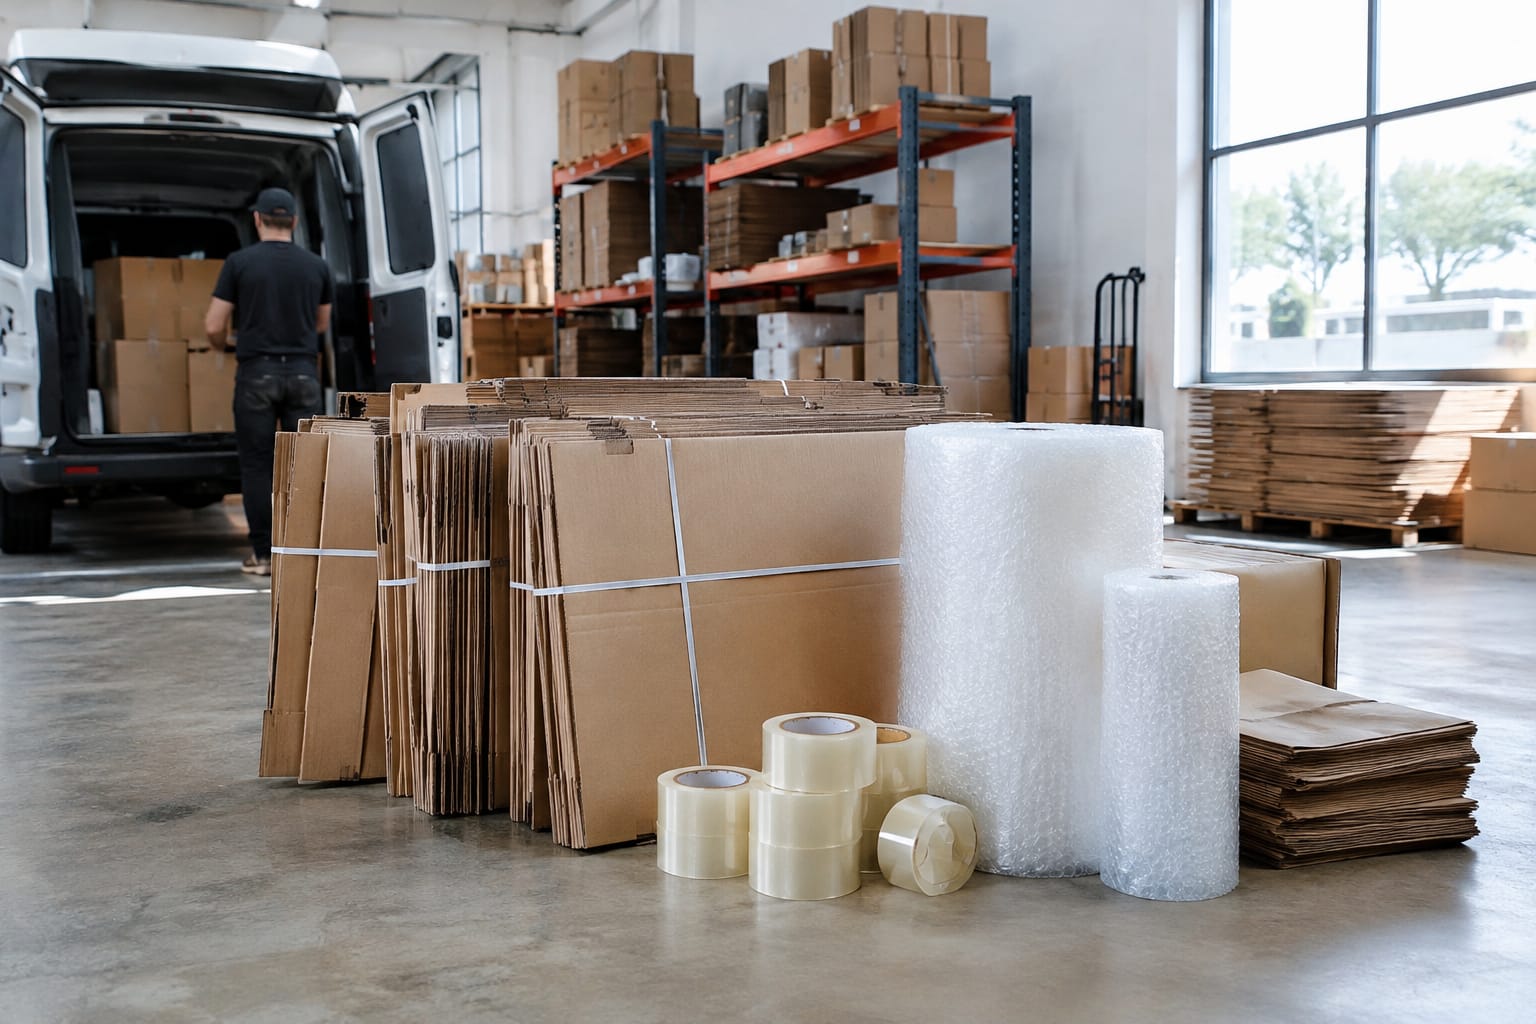
- Glassine paper: A smooth, translucent paper that resists air, moisture and grease. It does not shed fibers or leave ink. It is the standard first layer against paintings, glazing and works on paper. For more on packing paper, see this guide to using packing paper when moving.
- Corner protectors for frames: Cardboard or foam caps that slide over each frame corner. Corners take the first impact when a piece is set down hard.
- Bubble wrap: Use small-bubble wrap for small frames and large-bubble wrap for heavier pieces. This overview of choosing the right bubble wrap covers the types of bubble wrap and how to use each one.
- Picture boxes for moving: Flat, telescoping cartons that adjust to the frame size. A snug fit matters more than extra padding.
- Mirror boxes: Multi-piece telescoping kits built for tall, thin glass.
- Foam board or rigid cardboard sheets: These sandwich canvases and works on paper so nothing can press into the surface.
- Low-tack painter's tape and packing tape: Painter's tape is for glass only. Packing tape is for sealing boxes, never for touching artwork.
- Markers and labels: Use these to mark orientation and contents on every box.
Q: Can a large mirror go in a standard picture box?
A: Only a small one. Full-length and large wall mirrors belong in a four-piece telescoping mirror box or a custom crate, because a loose fit lets the glass flex and crack.
Step 3: Protect Glass, Acrylic and Mirror Surfaces the Right Way
Glazing is the clear layer over a framed piece. It is usually the most fragile part, and each type needs different treatment. If you handle acrylic the way you handle glass, you can damage the artwork under it.
Glass-fronted frames. Lay the piece face-up on a clean, padded table. Cover the glass with a sheet of glassine or clean packing paper so the outer wrap never rubs the glass directly. Some packers also add low-tack painter's tape in an X or grid across the glass.
Q: Should you put tape on the glass of a framed picture before moving it?
A: Only on glass, and only low-tack painter's tape in an X or grid pattern. It holds shards in place if the pane cracks. Never tape acrylic (often sold as Plexiglas), and never let tape touch the frame finish.
Take the tape off soon after the move. The longer adhesive sits, the harder it is to remove cleanly.
Acrylic-fronted frames. Acrylic scratches easily and builds up static charge. That charge can pull loose pigment off pastel, charcoal or chalk drawings onto the inside of the glazing. Use glassine only, with no tape, no newspaper and no rough cardboard against the surface.
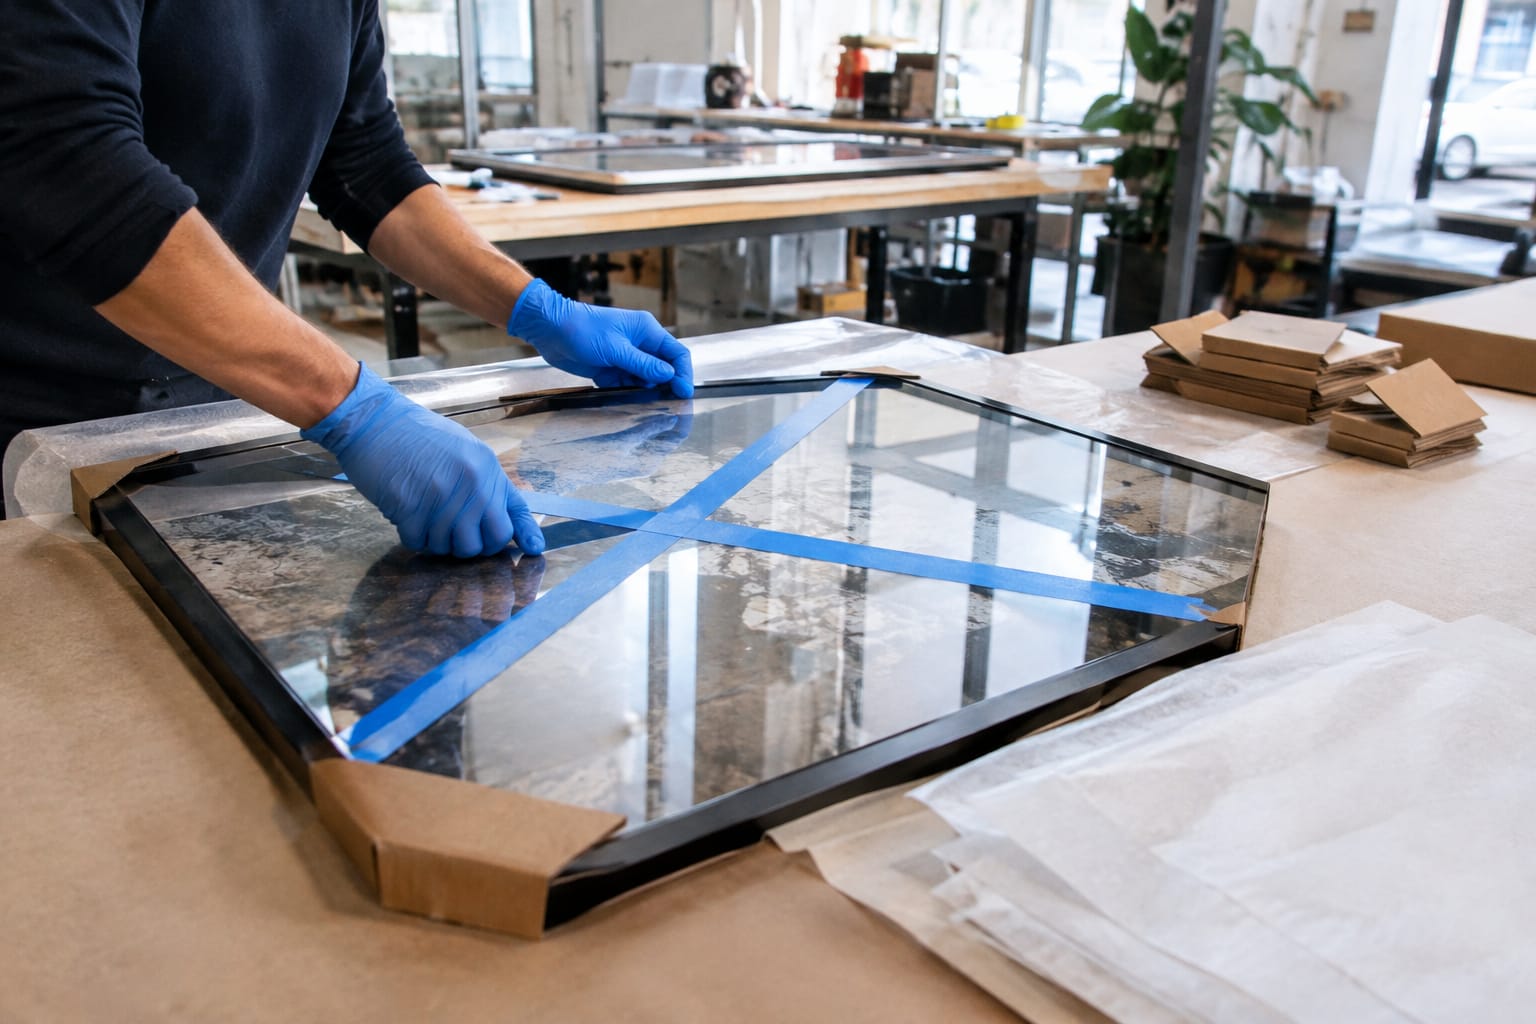
Mirrors. Mirrors are heavy for their thickness, and they crack when they flex. Cover the face with a sheet of cardboard or foam. Cap all four corners, wrap the whole mirror in bubble wrap, and seat it in a mirror box that fits closely on every side.
Step 4: Wrap, Box and Label Framed Pieces
Once the glazing is covered, every framed piece goes through the same sequence. The method follows the same principles as packing other fragile items, adjusted for a flat, top-heavy object.
- Cap the corners. Slide a corner protector onto each corner. Ornate or gilded frames need extra foam here, because carved details chip easily.
- Wrap in bubble wrap. Use two layers, with the bubbles facing outward. Tape the bubble wrap to itself, never to the frame.
- Choose a snug box. Adjust the telescoping picture box so the wrapped piece fits with only a little room on each side. Fill any gaps with crumpled paper so nothing slides.
- Pack one piece per box. Small frames of the same size can share a box if a sheet of cardboard separates them, face to face.
- Seal and label. Tape all seams. Write Fragile – This Side Up with arrows on at least two sides, plus the destination room and a short description.
Shake the sealed box gently. If you feel anything shift, open it and add more padding.
Step 5: Pack Canvas and Unframed Works Without Touching the Surface
Stretched canvas has no glass to protect it. Anything that presses on the canvas can dent it, mark it or punch through it. The goal is to build a rigid shell around the painting so nothing touches its face.
Q: Can you wrap a canvas painting directly in bubble wrap or plastic?
A: No. Plastic traps moisture against the paint, and bubble wrap can press a dimpled pattern into soft varnish. Put glassine directly on the painted surface first, and keep bubble wrap on the outside of a rigid board.
To protect a canvas painting:
- Lay a sheet of glassine over the painted face, and fold it loosely around the stretcher bars without tape on the paint.
- Cut two pieces of foam board or rigid cardboard a little larger than the canvas. Place one on the front and one on the back.
- Tape the boards to each other at the edges, so the tape never reaches the painting.
- Add corner protectors, then wrap the whole bundle in bubble wrap.
- Slide it into a snug box, and fill empty space so it cannot shift.
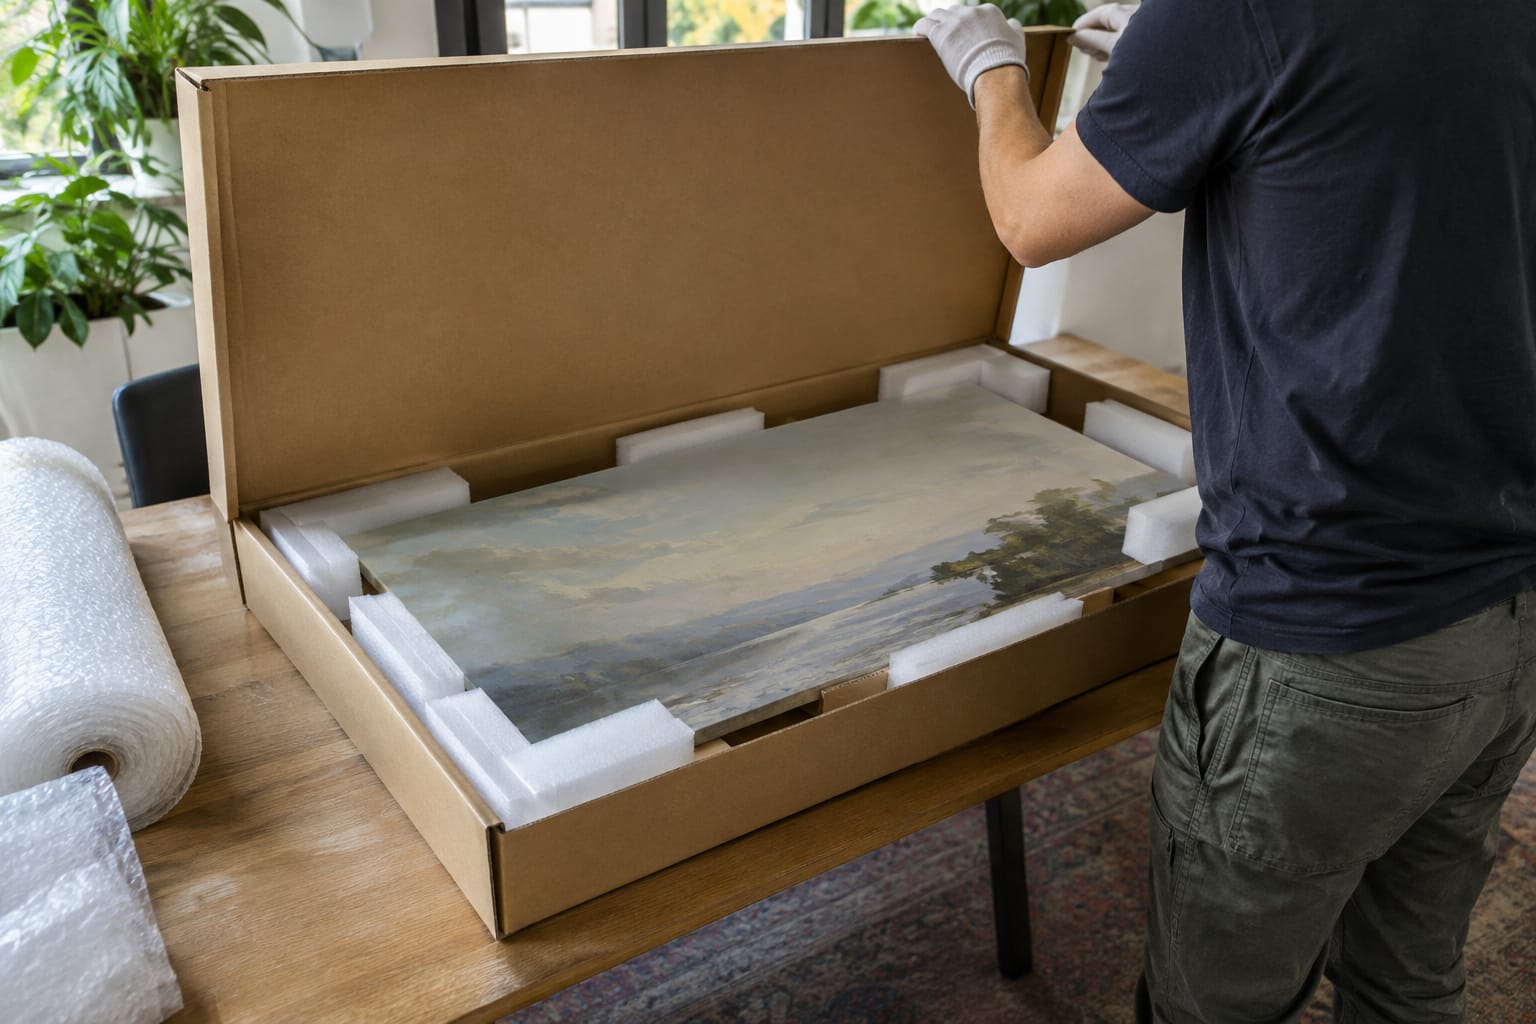
Do not roll a painted canvas to save space. Rolling can crack the paint layer, especially on older or thickly painted works. Leave any decision to take a canvas off its stretcher to a conservator.
Unframed works on paper need clean hands and full support. Library of Congress guidance on caring for paper collections stresses handling paper with clean hands. Place each sheet in an acid-free folder, or put glassine between sheets. Sandwich the stack between rigid boards and carry it flat in a portfolio or flat box.
Step 6: Load and Transport Art Upright and Secured
Good packing can still fail during loading. Picture boxes and mirror boxes travel on edge, never flat. A box lying flat can have other cargo stacked on top of it, and that weight cracks glass and dents canvas.
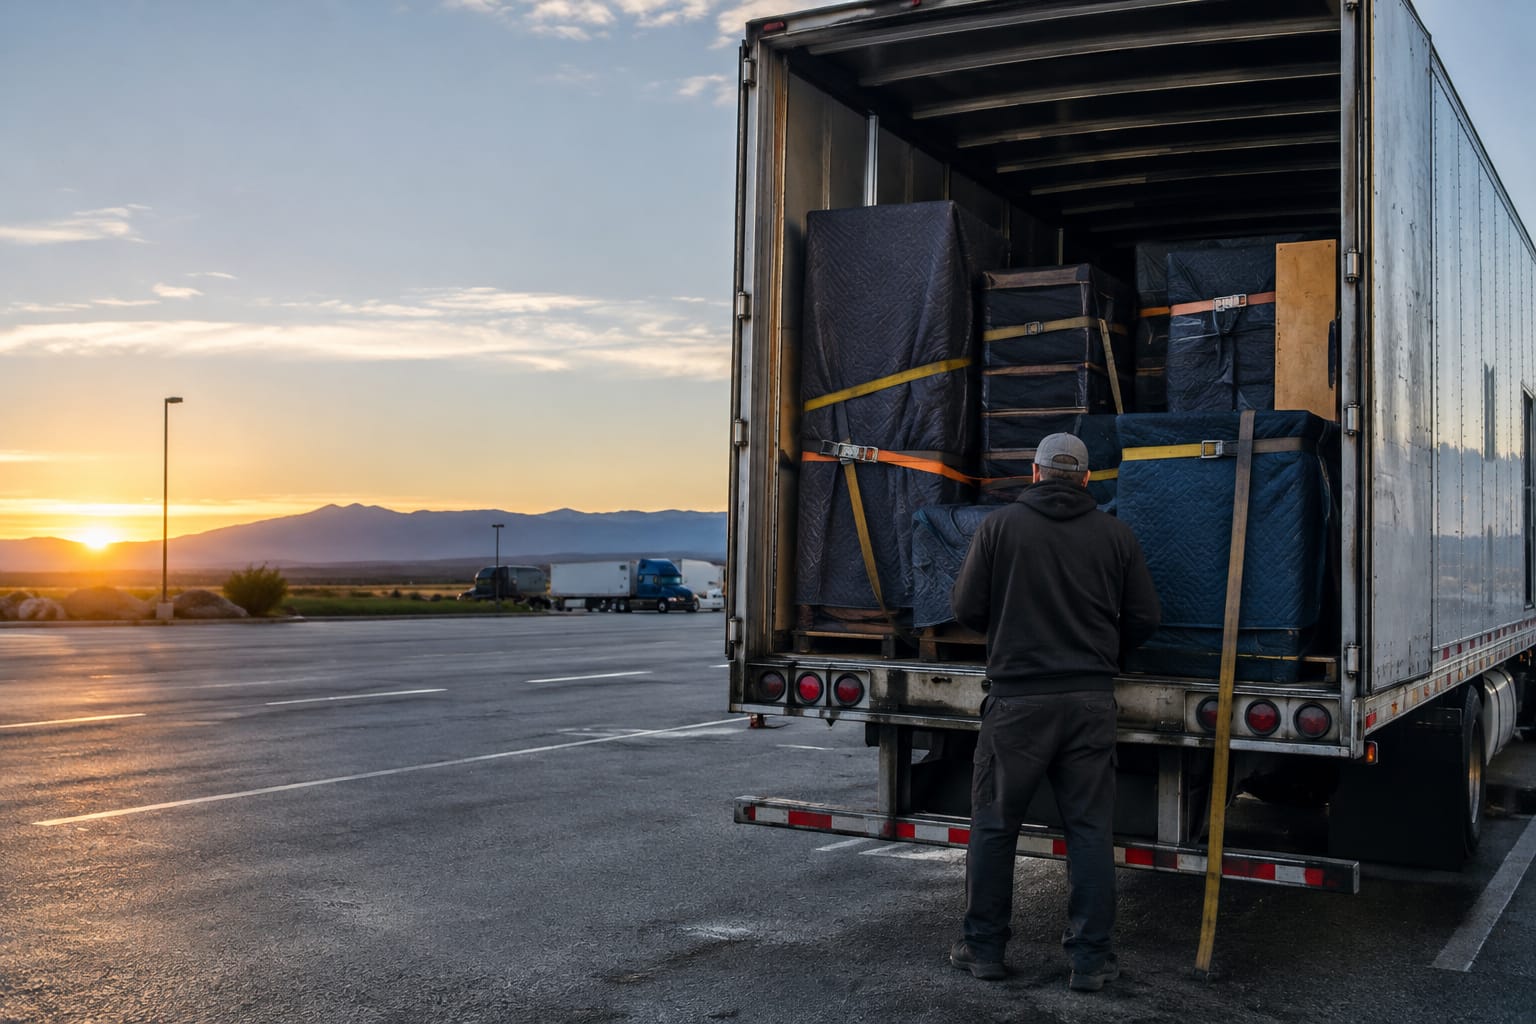
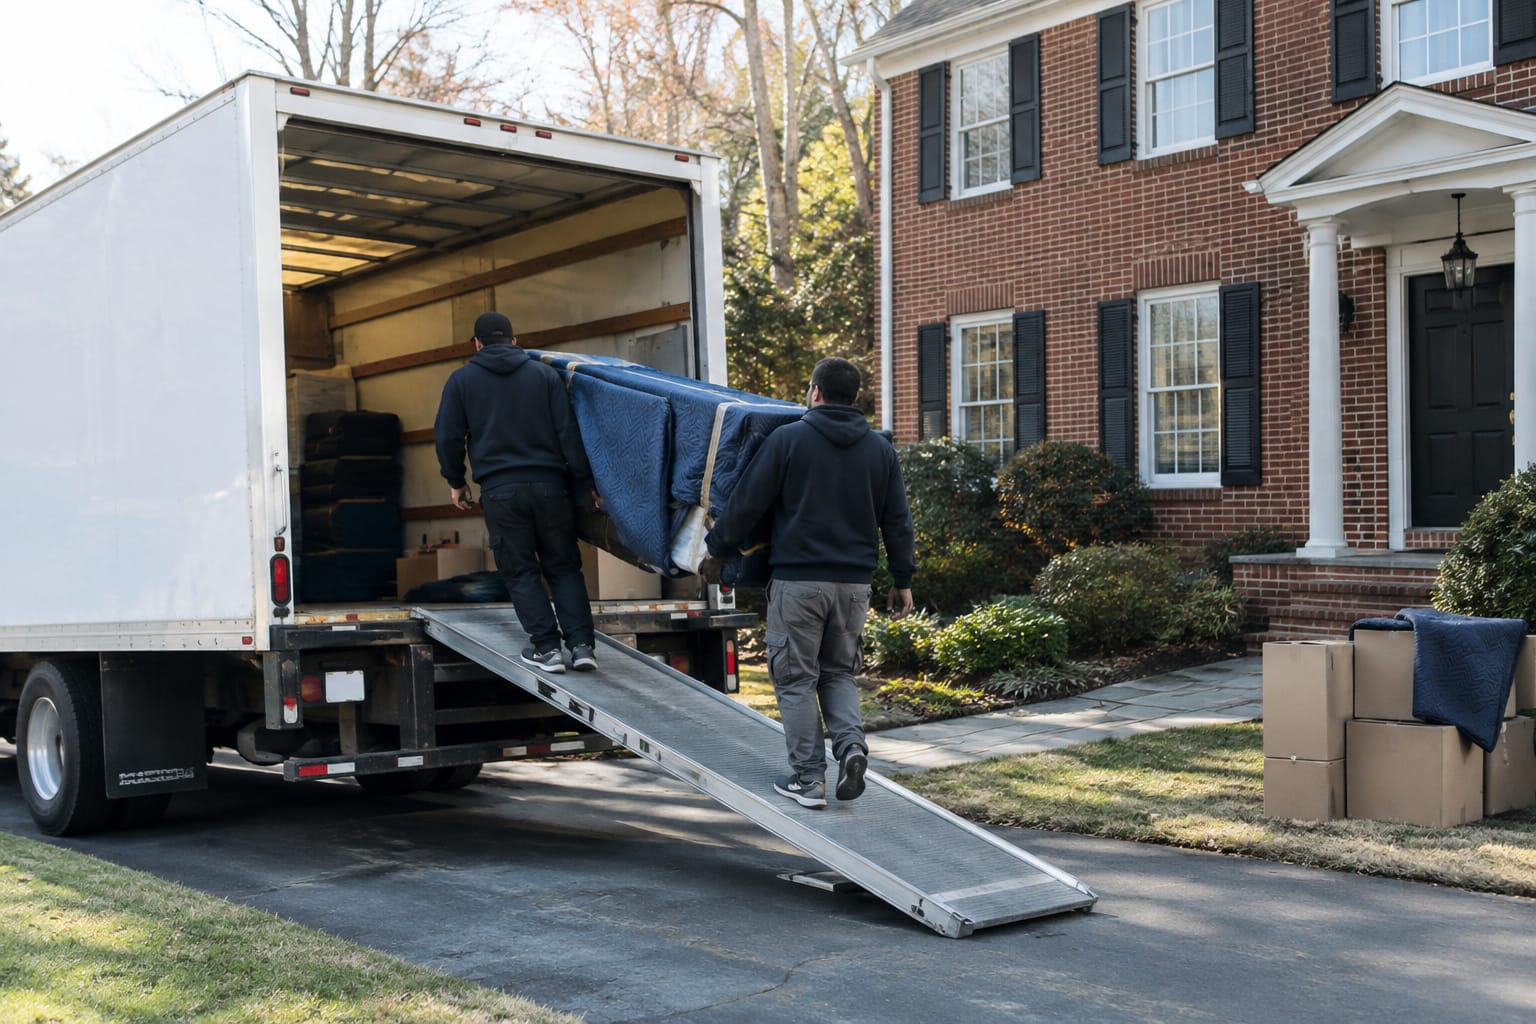
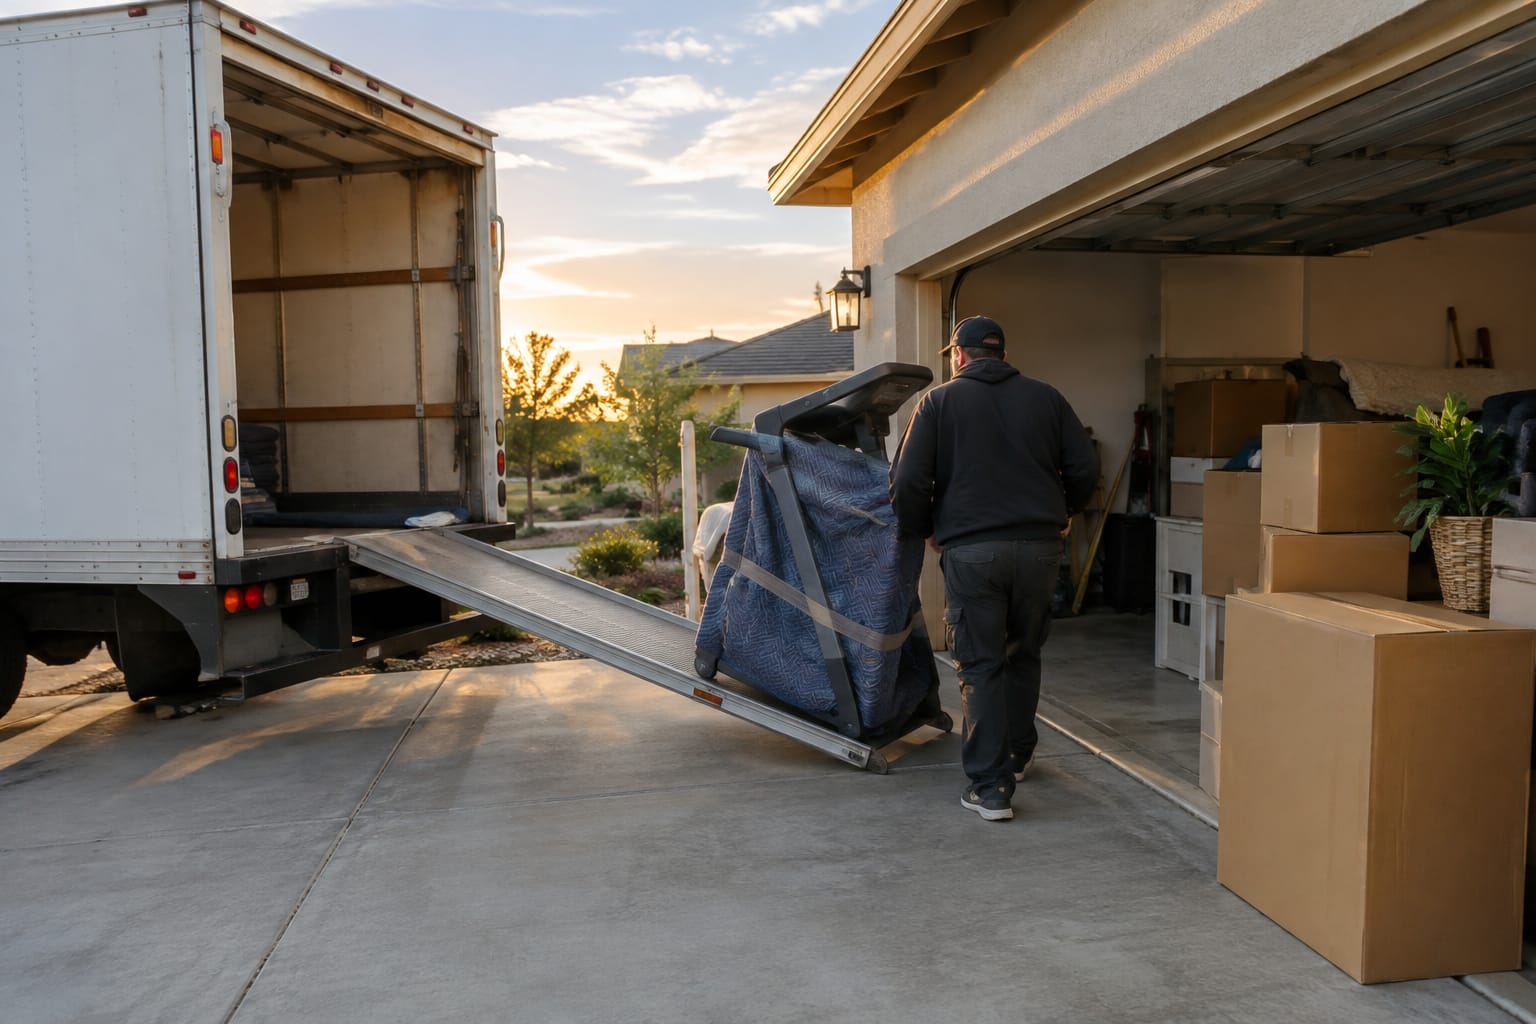
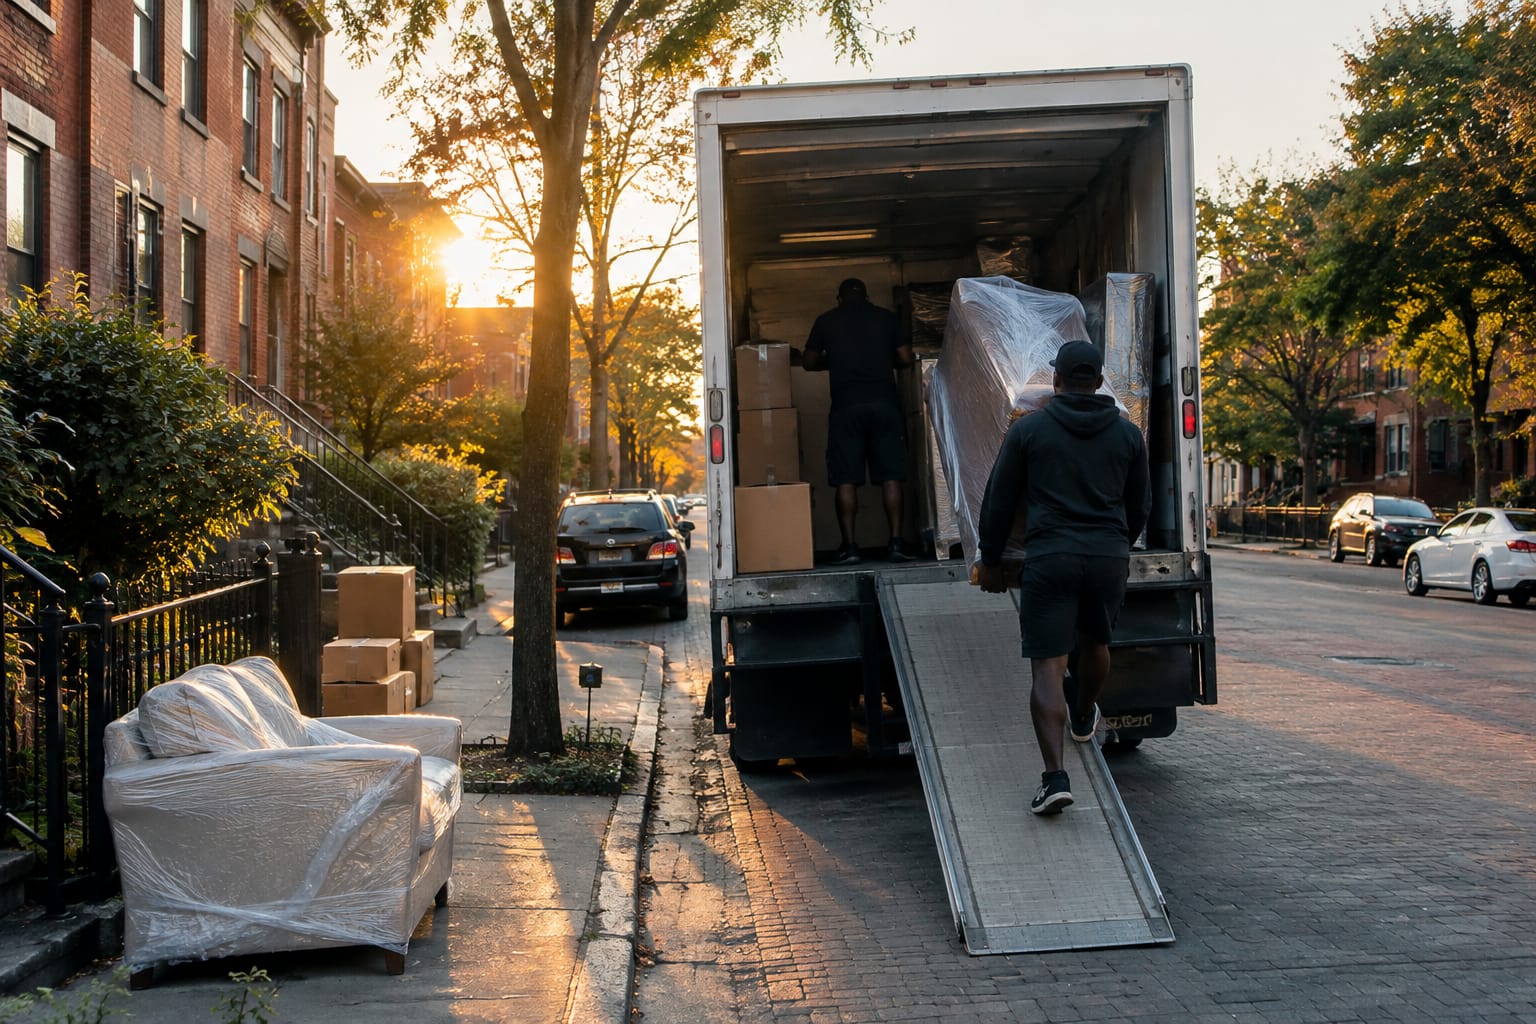
In a truck: Load art after heavy furniture so nothing gets shoved against it later. Stand boxes on edge against a wall or between mattresses or upholstered furniture. Then secure them with a ratchet strap or rope. Place them like books on a shelf, so each one supports the next.
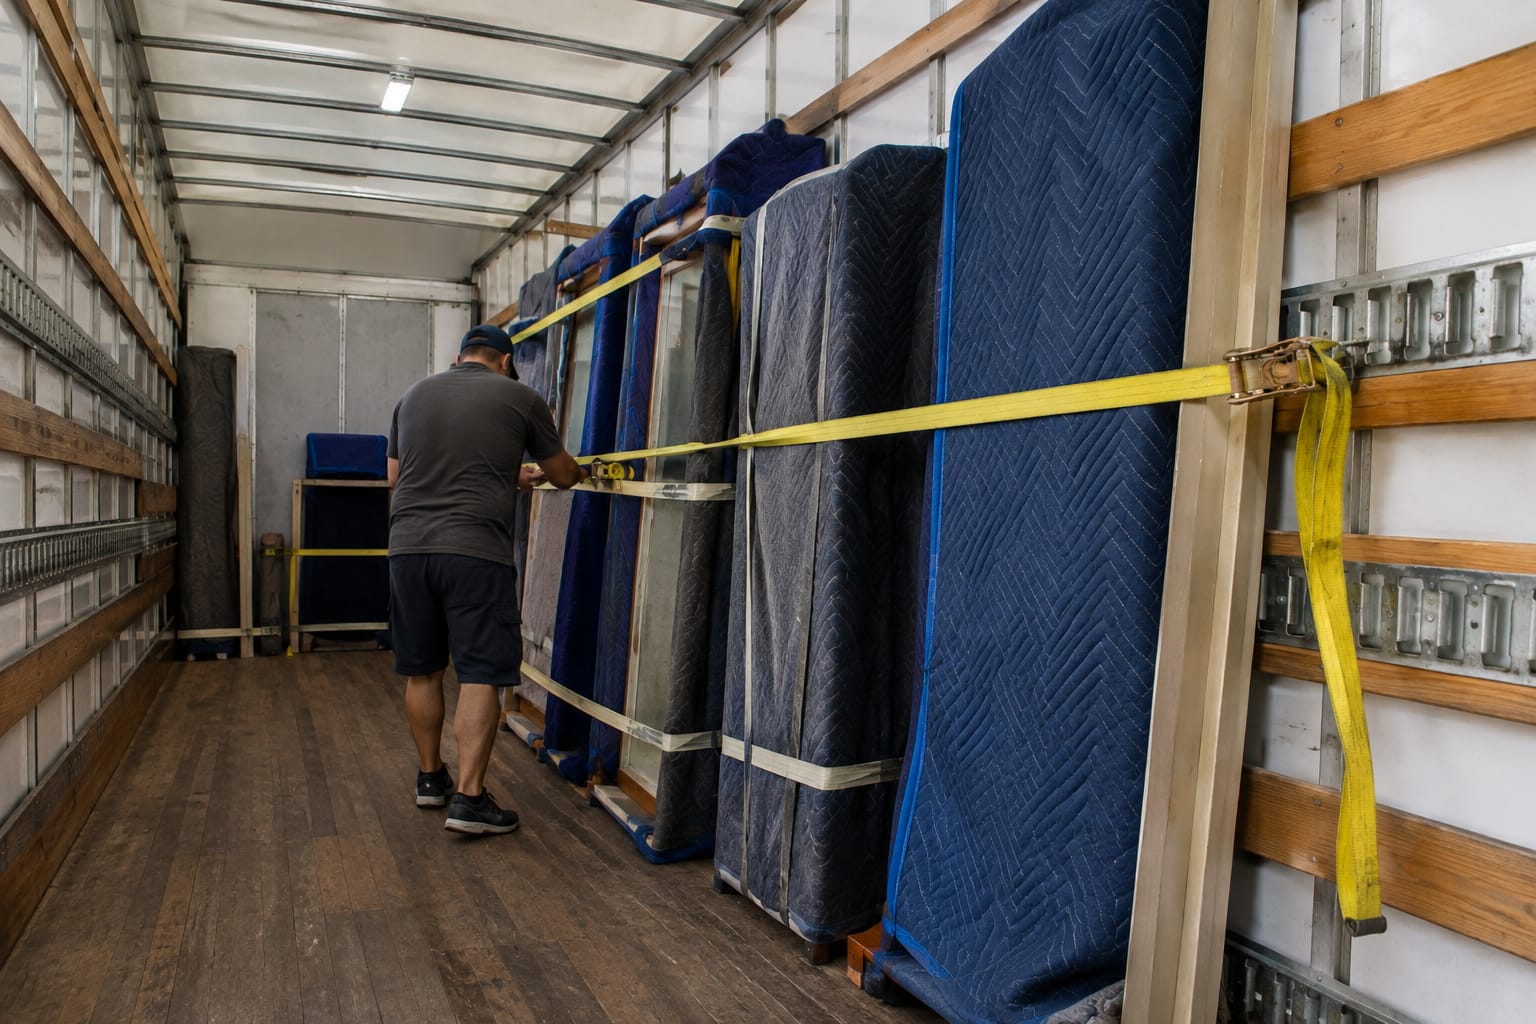
In a car: Stand smaller pieces on edge behind the front seats or in a cargo area, padded with blankets. Do not lay them flat in a trunk where luggage can slide onto them. Do not leave art in a parked car on very hot or very cold days. Fast temperature swings stress paint, adhesives and glass.
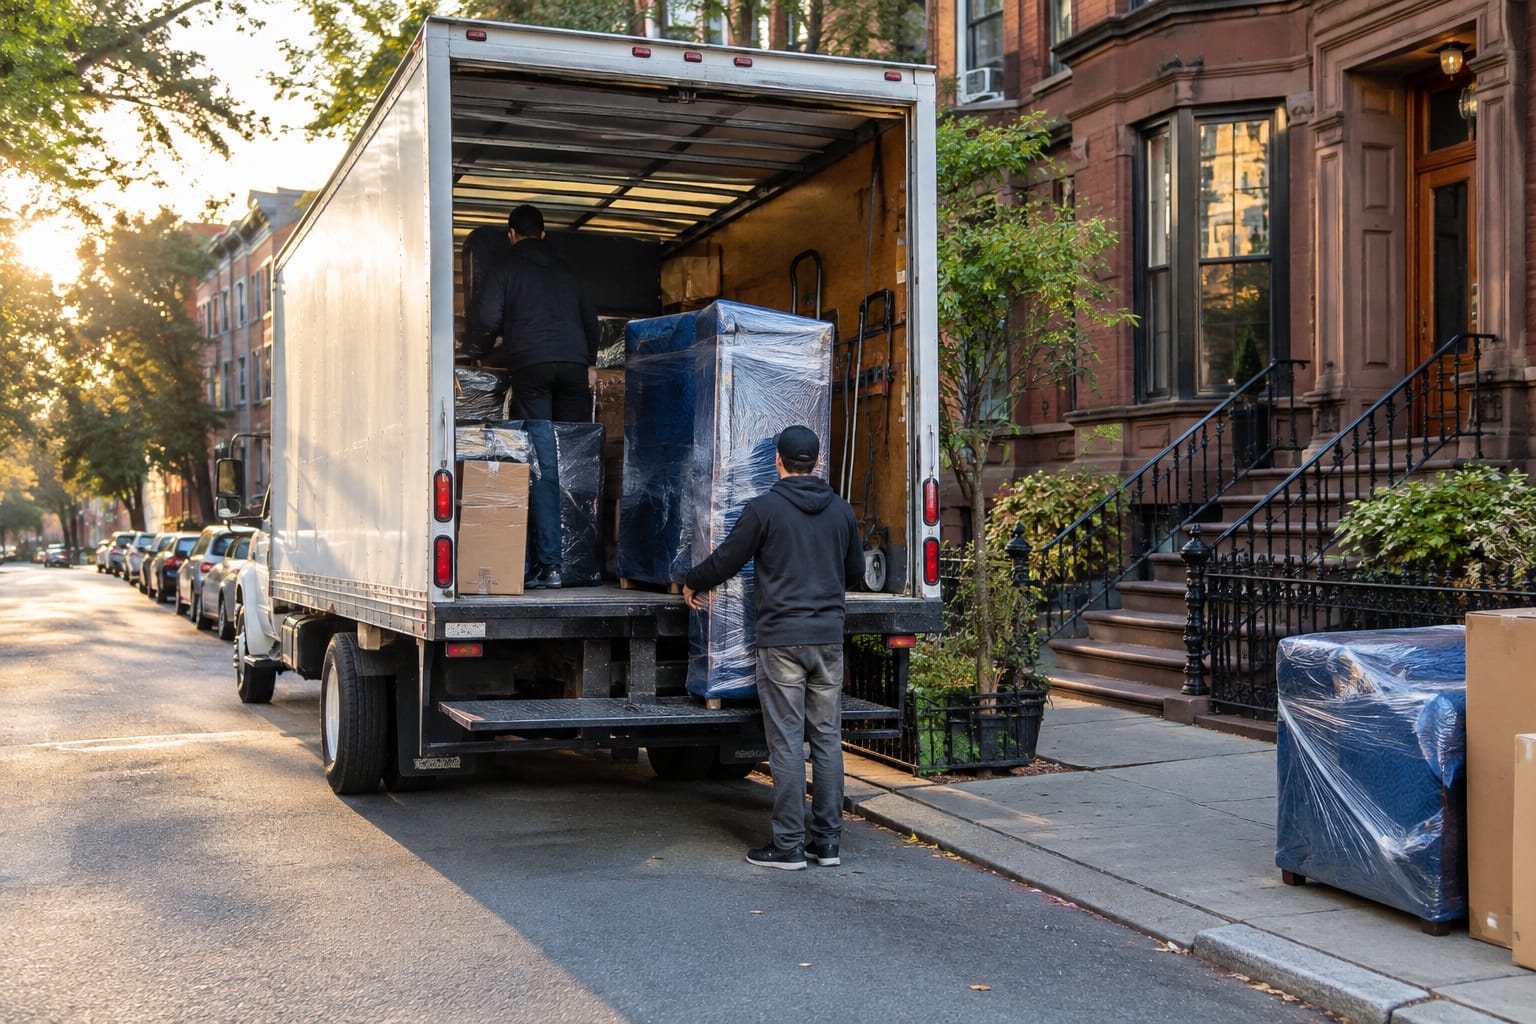
At the building: Plan the route out of each home before moving day. Many condo, co-op and apartment buildings require movers to provide a Certificate of Insurance (COI) before they can use the loading dock or service elevator. Some buildings also need the elevator booked ahead of time, so check the rules on reserving a building elevator early.
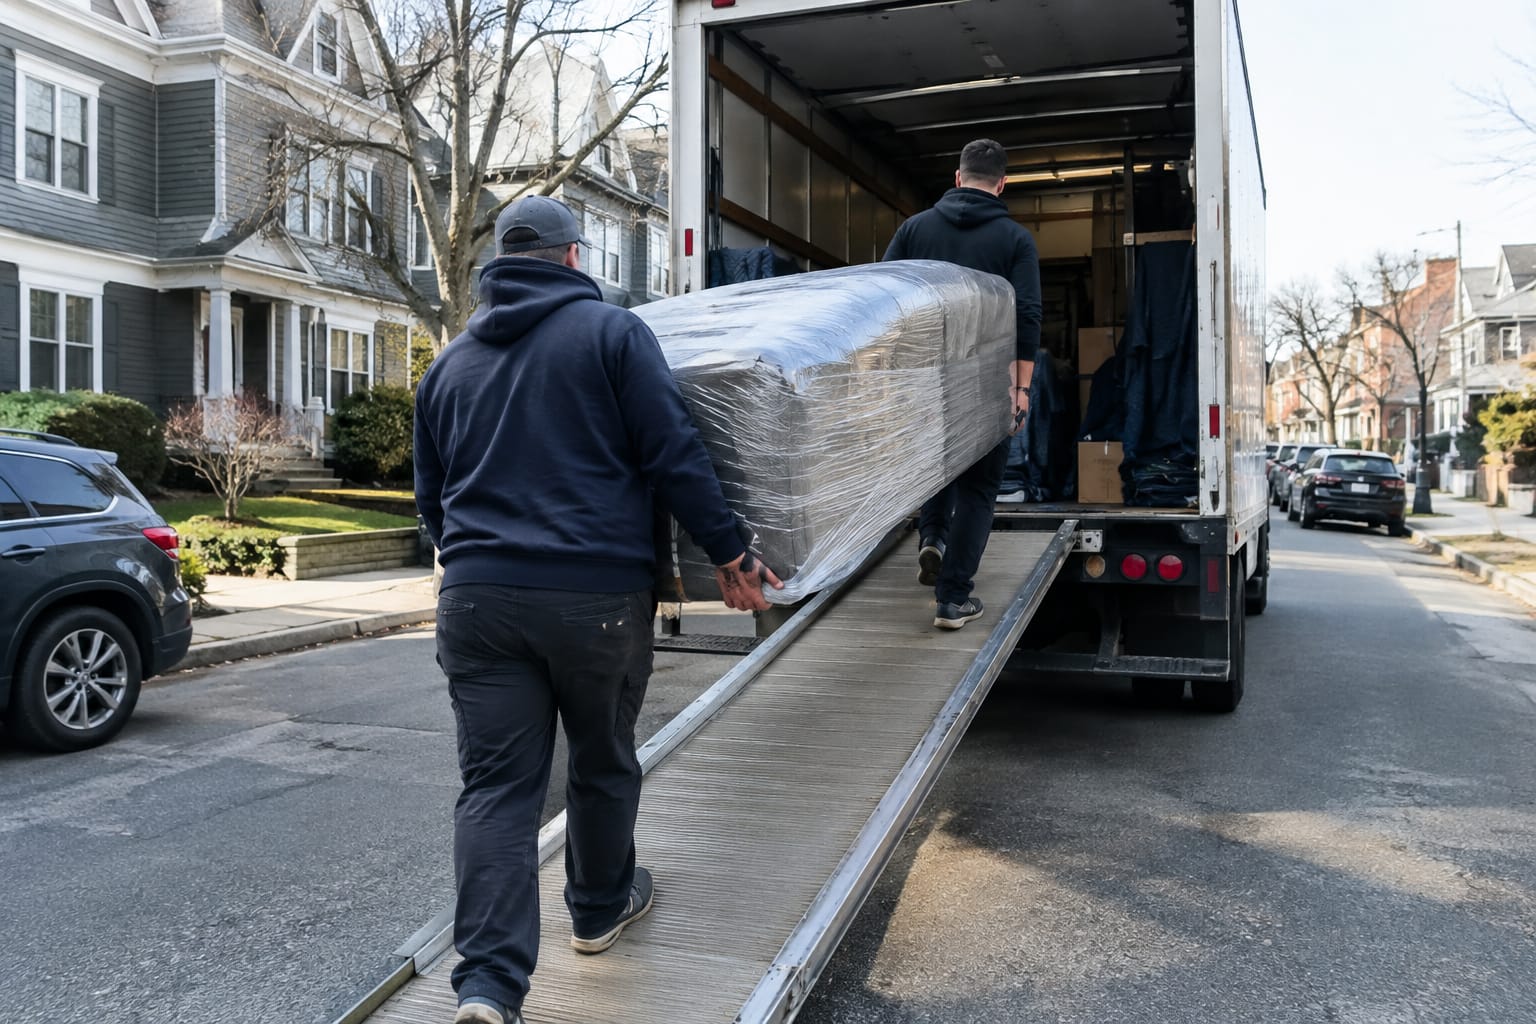
Carry each box with two hands, or with two people for large pieces. Keep the arrows pointing up the whole way.
When to Use Custom Crating or White-Glove Art Handlers
Careful DIY packing works well for posters, prints, family photos and mid-range framed pieces on local moves. Some pieces need more protection than cardboard can give. Use custom crating or a specialist handler when one or more of these apply:
- The piece is irreplaceable or high value. If you would have it appraised or insured on its own, a box is not enough protection.
- The canvas or frame is oversized. Pieces too big for a telescoping picture box flex and catch on doorways.
- The frame is fragile or ornate. Gilded, carved and plaster frames break at points that corner protectors do not cover.
- The move is long-distance or includes storage. More days in transit and more handling mean more shocks, vibration and temperature change.
- The work is already damaged. Flaking paint or a torn canvas needs a conservator's advice first.
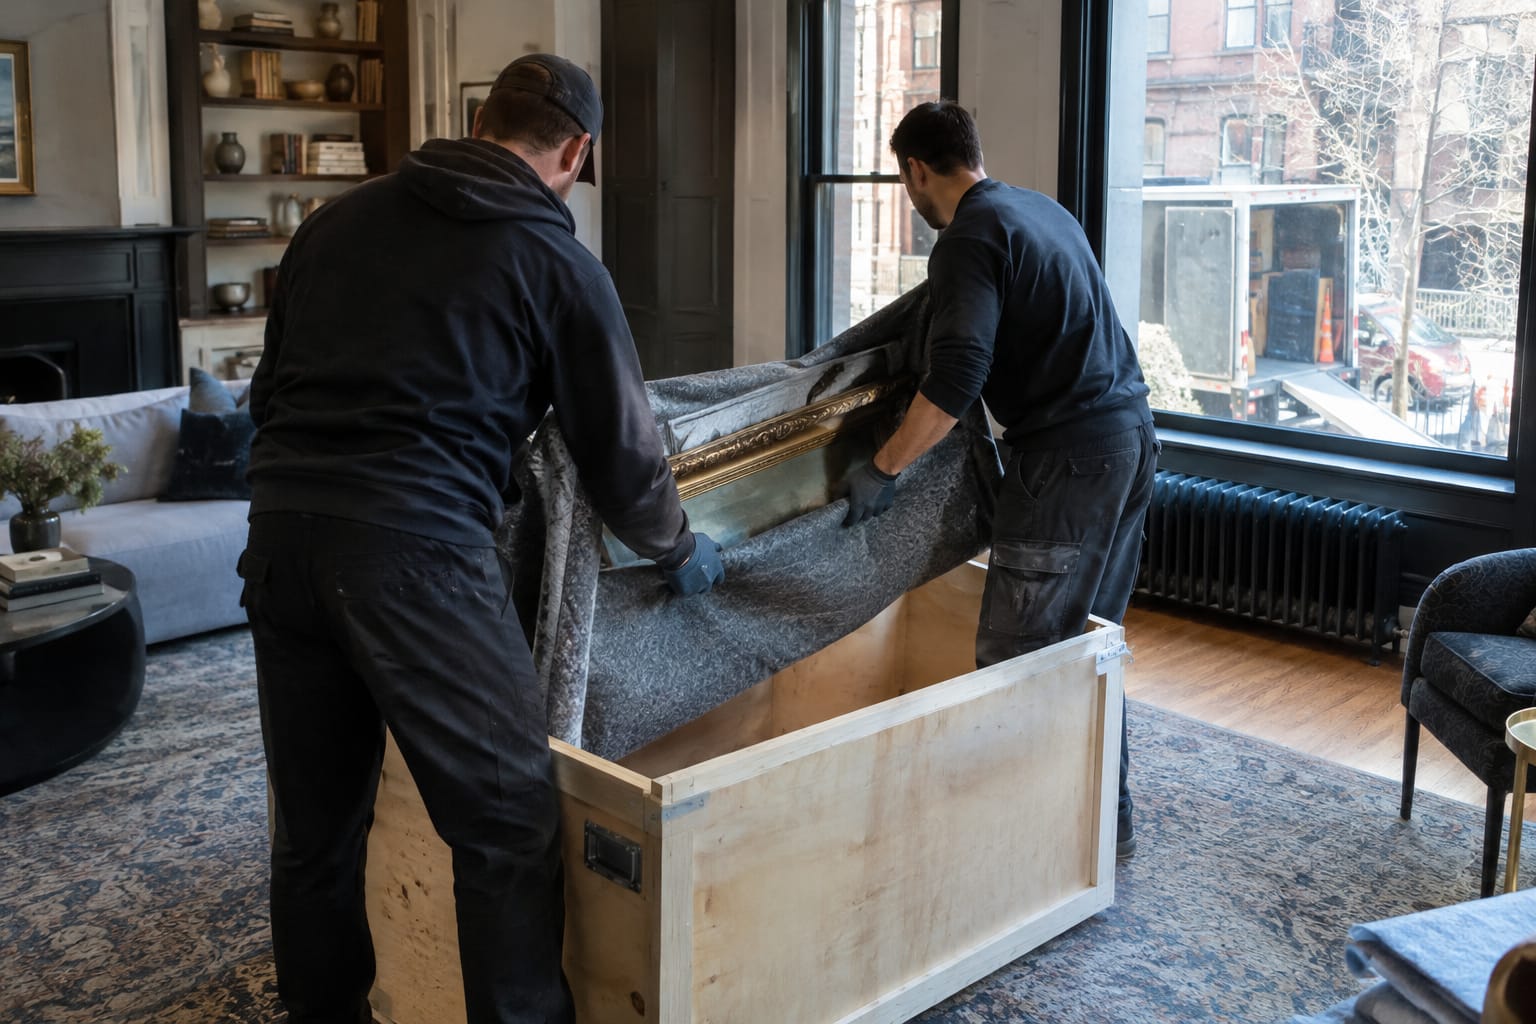
A custom crate is a wooden case built to the exact dimensions of the artwork. It is usually lined with foam and has fixed padding blocks that hold the piece still.
White-glove art moving refers to specialist handling from start to finish. Trained handlers pack and crate the piece, transport it with extra care, and often unpack and hang it at the destination. It costs more than standard moving, so save it for the pieces that justify it.
For everything in between, hiring professional packing for artwork and mirrors is a middle option. Whether that is a good use of money depends on how much art you own and how much time you have. This breakdown of whether paying for packing is worth it walks through the trade-offs.
Before moving any valuable piece, get two answers in writing. First, ask your homeowner's or renter's insurer whether the piece is covered while in transit. Second, ask any mover to explain what protection their quote includes and what optional coverage is available. Do not assume that a standard moving package reflects what a painting is actually worth.
Unpacking and Rehanging Art in Your New Home
Unpacking is where packed art gets damaged most often, usually by a utility knife. Slow down here, even when the rest of the house is chaos.
- Let boxes acclimate. After a move in cold or humid weather, leave packed art indoors for several hours before opening it. This lets the piece adjust to room temperature gradually.
- Open from the back. Lay the box face-down on a padded surface. Cut only along the seams, with the blade held shallow and pointed away from the art.
- Inspect against your photos. Check corners, glazing, wire and the surface against your Step 1 photos before you throw away any packaging.
- Hang with rated hardware. Use picture hooks or anchors rated for the piece's weight, and two hanging points for heavy frames.
- Choose the wall carefully. Avoid direct sun, radiators, exterior walls prone to condensation, and bathrooms.
Use it for anything you plan to keep for decades.
Written by Born to Move Team
Useful Links
- Packing and Unpacking Services
- How to Pack Fragile Items
- How to Professionally Crate Things
- What Packing Supplies Do I Need for Moving?
- Types of Tape for Packing When Moving House
Need help with this? Faq · Get a quote · Call (617) 903-2609